Introduction
A reliable pre-clinic training brush is essential for dental students learning proper brushing technique before working with patients. Mastering pressure control, angle, and timing is critical to becoming a skilled hygienist, and the right tools make practice more effective. An affordable electric toothbrush with pressure feedback is the ideal pre-clinic training brush for future dental professionals.
Why Dental Students Need Specialized Training Tools
Common learning challenges include:
- Mastering the correct pressure to clean effectively without damaging enamel or gums.
- Developing consistent technique to cover all surfaces of the teeth evenly.
- Learning to maintain a steady hand and proper angle during brushing.
- Building muscle memory for the 2-minute brushing routine recommended for patients.
Key Features of a Pre-Clinic Training Brush
Look for these student-focused features:
- Pressure feedback alerts: Lights or vibrations to indicate when too much pressure is applied.
- Built-in 2-minute timer: Helps students practice consistent brushing duration.
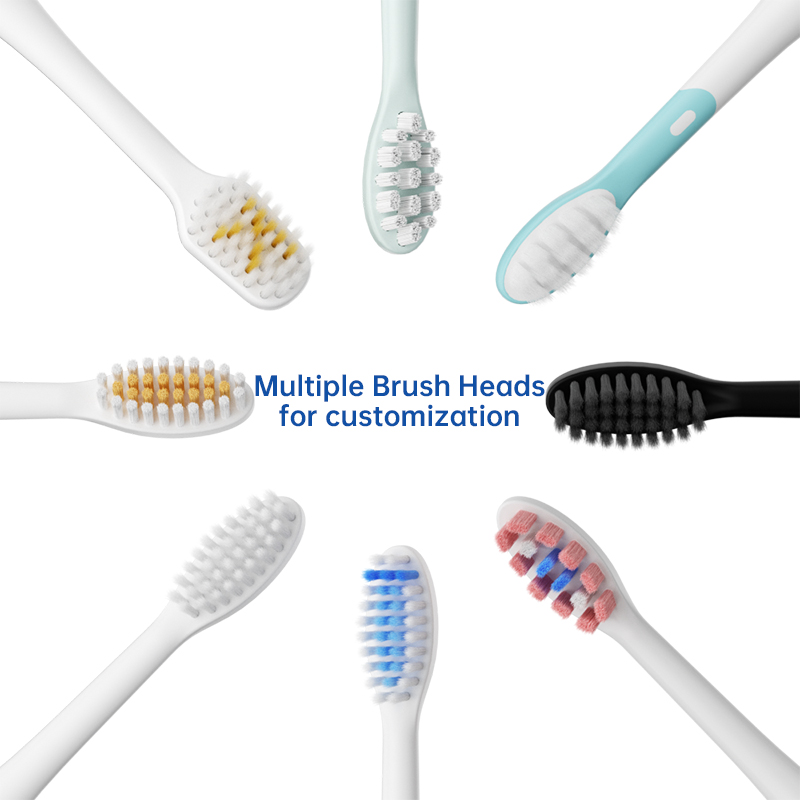
- Soft, multi-angle brush heads: Mimic the feel of professional cleaning tools.
- Durable, affordable build: Stands up to frequent practice without breaking the bank.
How to Use a Pre-Clinic Training Brush for Practice
- Practice on models or mannequins to refine your technique without risking patient discomfort.
- Focus on using light pressure, letting the brush do the work instead of scrubbing hard.
- Use the timer to practice covering each quadrant of the mouth evenly.
- Record yourself brushing to review your angle and pressure, and adjust as needed.
Additional Tips for Dental Students
- Practice brushing at different angles to learn how to clean hard-to-reach areas effectively.
- Compare your technique to professional demonstrations to identify areas for improvement.
- Keep a practice journal to track your progress with pressure control and consistency.
- Ask instructors to review your technique with the training brush and offer feedback.
For student-friendly training electric toothbrushes, visit https://www.powsmart.com/.
For dental student oral health guidance, visit https://www.ada.org/en/education-careers/students/dental-students.
Conclusion
A quality pre-clinic training brush helps dental students build the muscle memory and technique they need to provide excellent care to patients. With practice and the right tools, you’ll be ready to succeed in the clinic.
.jpg)
