.jpg)
In the electric toothbrush industry, design details matter — especially when it comes to gum protection design. One often-overlooked feature is the cross-sectional shape of the bristle tips. The shape of electric toothbrush bristles— diamond, round, and cone — influence both cleaning performance and how gentle the brush is on gums. Understanding the differences is essential not only for end-user comfort but also for brands and manufacturers focused on innovation and product differentiation. This blog explores how bristle tip treatment and shape impact oral care performance, especially in the context of gum protection. The Role of Bristle Tip Treatment in Oral Hygiene Before diving into shapes, it’s important to understand the purpose of bristle tip treatment. High-quality electric toothbrushes undergo specialized processes like end-rounding or polishing to smoothen the tips. These treatments reduce the risk of micro-abrasions to enamel and soft tissue. Inadequately treated bristle tips — regardless of shape — can irritate gums, leading to discomfort or even recession over time. Proper bristle tip treatment ensures consistent smoothness, which complements the shape in achieving safe and effective cleaning. Round Bristles: The Industry Standard for Safety Round bristles are the most common and widely accepted design in electric toothbrushes. Their main advantages include:…
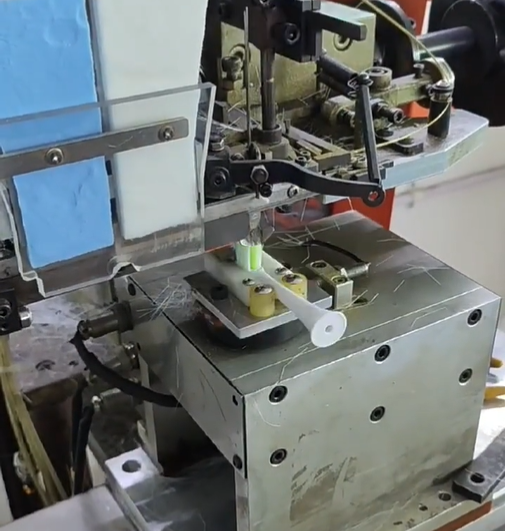
In the evolving world of oral care, the electric toothbrush has become a cornerstone product for deep and efficient cleaning. However, one often overlooked factor behind a toothbrush’s success is its Electric Toothbrush Bristle layout. Different bristle arrangements—such as cross-pattern, wave-pattern, and multi-height configurations—not only influence comfort and reach but significantly impact toothbrush cleaning efficiency. In this blog, we explore how manufacturers can leverage customized Electric Toothbrush Bristle layout to deliver better user outcomes and differentiate in a competitive market. Bristle Patterns and Their Functional Role Cross-pattern A cross-pattern layout features angled bristles pointing in different directions. This design is particularly effective at loosening plaque and reaching into the interdental spaces. Benefit: Enhanced rotational cleaning motion. Target Users: Those with plaque build-up and tight interdental spaces. Design Insight: Works well when combined with dynamic brush heads that rotate or oscillate. Wave-pattern Wave-pattern bristles follow a sinusoidal curve across the brush head, adapting to the natural contours of teeth. Benefit: Consistent contact with curved tooth surfaces. Target Users: People with irregular or sensitive dental topography. Design Insight: Improves surface coverage and provides gentle cleaning on enamel and gum lines. Height-Difference Design This layout alternates bristle heights to increase vertical reach. It’s commonly…
.jpg)
When an electric toothbrush suffers a mode failure, it can switch erratically between cleaning intensities—subjecting enamel to unintended stress patterns that promote enamel cracks. B2B manufacturers must grasp how firmware glitches, user compensations, and hardware oversights converge to create this hidden risk and implement robust remedies. What Constitutes a Mode Failure? First, clarify the term: Definition: A mode failure occurs when the brush’s control system fails to maintain—or erroneously changes—the intended brushing mode (e.g., “Gentle,” “Standard,” “Whitening”). Symptoms: Sudden jumps in vibration frequency, unresponsive buttons, or automatic reboots mid-session. Detection: Users often attribute strange sensations to battery issues, overlooking that inconsistent modes are to blame. Understanding these failure signatures is the first step toward prevention. How Erratic Modes Stress Enamel Next, examine the physical consequences: Abrupt Frequency Shifts: Rapid changes in vibration amplitude create micro-impacts on enamel, initiating subsurface microfissures. Variable Bristle Dynamics: Bristles designed for low-force polishing suddenly slam at whitening intensity, causing localized overstrain. Cumulative Fatigue: Repeated unintended spikes accelerate fatigue in the enamel layer, hastening crack propagation. These mechanical stresses underline why mode consistency is vital to enamel integrity. Company web:https://www.powsmart.com/product/electric-toothbrush/ Common Triggers of Mode Failure Moreover, several root causes undermine mode stability: Firmware Bugs: Unhandled exceptions…
Many electric‐toothbrush makers have adopted hollow motors to reduce weight and cost—but this shortcut often introduces hidden compatibility issues across mechanical, electrical, and sealing interfaces. In this exposé, we reveal six critical dimensions where hollow‐shaft designs can trip up even experienced B2B manufacturers, and offer practical remedies to safeguard product performance and reliability. Understanding Hollow Motor Architecture First, let’s define hollow motors: Core Concept: A hollow rotor or stator reduces copper and steel mass, saving material costs. Intended Benefits: Lower inertia for quicker spin‐up, a slimmer form factor, and lighter assemblies. Unintended Trade-Offs: The missing central material changes mechanical stiffness and magnetic flux pathways. By grasping this basic architecture, you can anticipate where compatibility issues may arise. Mechanical Resonance and Vibration Hazards Moreover, hollow motors alter vibrational characteristics: Natural Frequency Shift: Thinner walls resonate at different frequencies, clashing with brush‐head dynamics. Amplified Vibration: Without sufficient damping, the assembly may chatter, loosening connections or O-rings. Seal Fatigue: Repeated micro‐oscillations accelerate wear on waterproofing seals, risking ingress and corrosion. Understanding these resonance profiles is key to selecting appropriate dampers and mountings. Company web:https://www.powsmart.com/product/electric-toothbrush/ Electrical Driver Mismatches Furthermore, hollow motors often present variable electrical loads: Inductance Variability: Reduced copper windings change the motor’s…
When users rely on overpressure cleaning to boost their perceived “deep clean,” they often overlook that excessive brushing force actually aggravates interdental stains. Over time, too much pressure not only harms gum tissue but also drives pigment deeper into interdental spaces, creating a dual threat to oral health and aesthetics. Below, we explore six dimensions of this hidden risk and offer B2B manufacturers actionable solutions. What Is Overpressure Cleaning—and Why It Happens First, define “overpressure cleaning” and its causes: Misguided Belief: Some users think “the harder the better,” ignoring the tolerance of gums and enamel. Poor Feedback: Smooth or slippery handles provide no tactile cues, making it hard to gauge safe pressure. Mode Misuse: High-frequency vibration modes without proper warnings often prompt users to grip harder. Recognizing these root causes is the first step toward safer brushing. How Excessive Force Damages Gums and Enamel Next, excessive brushing pressure harms oral tissues in three key ways: Gum Recession: Constant high force compresses gingival tissue, leading to shrinkage and exposure. Enamel Microfractures: Intense abrasion creates microcracks in enamel, compromising its integrity. Increased Sensitivity: Damaged enamel and exposed dentin lead to heightened thermal and tactile sensitivity. These injuries set the stage for deeper…
Recently, reports have emerged suggesting that light burns from high-intensity whitening devices can inflame oral soft tissues and even contribute to bite misalignment as patients unconsciously alter chewing patterns to avoid discomfort. This controversy raises urgent questions for B2B manufacturers: How do device parameters, protocols, and training intersect to safeguard both cosmetic efficacy and occlusal health? From Light Burns to Altered Mastication First, understand the chain reaction: Thermal Injury: Excessive irradiance or prolonged exposure causes mucosal burns on cheeks and tongue. Protective Guarding: Patients instinctively chew on the opposite side, shifting occlusal load. Muscle Memory Change: Repeated avoidance leads to altered muscle tone and, over time, bite misalignment. Thus, mitigating surface burns is critical to preserving natural bite patterns. Device Settings that Heighten Burn Risk Moreover, certain design choices amplify thermal hazards: Overpowered LEDs: Devices pushing >2,000 mW/cm² accelerate tissue heating. Lack of Thermal Diffusion: No built-in cooling or diffusive optics concentrates hot spots on soft tissue. Fixed Exposure Times: Rigid “one-size-fits-all” protocols ignore individual tissue tolerance. By optimizing power density and exposure cycles, manufacturers can reduce light burns without sacrificing whitening speed. Gel Formulation and Photochemical Reactions In addition, gel chemistry interacts with light to influence burn outcomes: Exothermic…
.jpg)
As the oral care market continues to evolve, manufacturers are facing increasing demands for product differentiation and higher hygienic standards. One of the most important yet often overlooked components in a water flosser is the nozzle. This blog will explore the key considerations for a customized water flosser nozzle, with a focus on material selection, anti-backflow structure, and anti-mold process. Understanding the Importance of Nozzle Customization When developing water flossers for different markets or target users, nozzle design plays a crucial role. A well-designed customized water flosser nozzle enhances user comfort, ensures optimal water pressure, and prevents hygienic issues such as bacterial growth or water contamination. Nozzle customization is not just about shape or color — it involves a full integration of material science, engineering, and user experience. Material Selection: Food-Grade Silicone vs. PP Two common materials used in nozzle manufacturing are food-grade silicone and polypropylene (PP). Each has unique benefits: Food-Grade Silicone Nozzle: Soft, flexible, and ideal for users with sensitive gums. Excellent resistance to high temperatures and chemical degradation. Non-toxic and highly biocompatible, making it ideal for medical-grade hygiene standards. PP Nozzle (Polypropylene): More rigid and cost-effective. Good for general use where high pressure or stiffness is preferred. Easy to mold…
As global demand for personal oral care products rises, brands are increasingly looking for customized water flosser solutions to differentiate their offerings. OEM customization solution allows companies to tailor features to meet specific consumer needs and market segments. In this article, we explore the critical engineering parameters behind a customized water flosser, focusing on removable water tank design, 360° rotating nozzle, and 5-speed pressure adjustment, all of which play a key role in product performance and market success. Water Tank Capacity: Balancing Compact Design and User Convenience One of the most important engineering considerations in water flosser OEM projects is the water tank capacity. A well-designed removable water tank not only simplifies refilling and cleaning but also enhances user experience. Smaller tanks (e.g., 150–200ml) are ideal for travel-friendly models. Larger tanks (300–400ml) cater to home use and reduce the need for frequent refills. Customizing tank size allows brands to align their product with specific user needs, whether it’s portability or extended operation time. Nozzle Design: 360° Rotating Functionality for Full Mouth Cleaning A 360° rotating nozzle is a key differentiator in advanced water flosser design. It allows the jet stream to reach all areas of the mouth—including the rear molars and gum pockets—ensuring thorough…
.jpg)
In the competitive oral care device market, product performance and user comfort go hand in hand. One of the most crucial factors affecting both is the Customization of oral irrigator. The typical range of 1400–1800 pulses per minute is known for effective plaque removal and interdental cleaning. However, higher pulse frequencies often come at the cost of increased noise, which negatively impacts user experience. In this blog, we explore how manufacturers can balance effective pulse water pressure adjustment with low noise motor solutions, while considering different user sensitivities such as the need for a gum sensitivity mode. Understanding the Optimal Frequency Range: 1400–1800 Times/Minute Studies and user feedback have shown that the optimal pulse frequency for most oral irrigators lies between 1400 and 1800 times/minute. Within this range: 1400–1600 times/min offers a more comfortable experience, ideal for beginners or users with sensitive gums. 1600–1800 times/min provides a more aggressive cleaning action, suitable for experienced users and those with orthodontic needs. Thus, Customization of oral irrigator is not just a marketing feature—it’s an engineering necessity to cater to varied user needs. Pulse Water Pressure Adjustment for User Comfort Beyond frequency, pulse water pressure adjustment is key to delivering a personalized oral care experience. Adjustable pressure settings allow…
Patients suffering from oral ulcers often report that post-whitening enamel takes on a chalky hue, a phenomenon known as fluorosis aggravation. Before launching your next‐gen whitening device, B2B manufacturers and channel partners must understand how mucosal lesions interact with topical fluoride to avoid unintended contraindications and maintain clinical safety. How Oral Ulcers Alter Fluoride Absorption First, open lesions in the mucosa change fluoride dynamics: Enhanced Permeability: Ulcerated tissue allows fluoride ions to penetrate deeper into enamel and dentin, increasing local concentration. Prolonged Contact: Bleaching gels pooling around ulcers linger longer, intensifying fluorosis risk. pH Shifts: Inflammatory exudates lower pH, enhancing fluoride’s demineralizing potential rather than its remineralizing action. Thus, ulcer management is pivotal to controlling fluoride uptake during whitening. Mechanisms of Fluorosis Aggravation Post-Whitening Next, consider the biochemical cascade: Calcium-Fluoride Layer Disruption: Healthy enamel forms a protective CaF₂ layer; ulcers disrupt saliva flow, preventing its rapid clearance. Acidic Byproducts: Peroxide breakdown in low-pH ulcer environments leaches minerals, making fluoride bind irregularly. Crystal Lattice Stress: Excess fluoride incorporation in compromised enamel leads to hypomineralized spots—visual markers of fluorosis. This interplay underscores why ulcers are a red-flag contraindication. Identifying High-Risk Patient Profiles Moreover, B2B partners must screen for factors that compound risk:…
Excessive gel leakage from ill-fitting trays or low-viscosity formulations can cause whitening agents to pool inconsistently—ironically triggering teeth yellowing instead of brightening. To help B2B manufacturers and channel partners safeguard end-user outcomes, our experts examine six critical facets of this hidden hazard and recommend actionable solutions. Common Causes of Whitening Gel Leakage First, understanding why gel escapes its intended boundaries is key: Tray Fit Variability: Universal or poorly cast trays leave micro-gaps at the gingival margins, allowing gel to ooze out. Low Viscosity Formulas: Overly fluid gels run under gravity, especially when users tilt their heads. Overfilling by End Users: Without clear dosage guides, many apply excess gel “just to be safe,” exacerbating leak risk. Identifying these root causes enables targeted design improvements. How Leakage Drives Uneven Whitening & Teeth yellowing Next, examine the mechanism linking leakage to discoloration: Diluted Active Zones: Gel that leaks away reduces peroxide concentration on key tooth surfaces, leaving residual stains. Chemical Depletion: Exposed gel oxidizes on skin or tray walls rather than on enamel, wasting bleaching agents. Staining by Contaminants: Leaked gel picks up pigments from cups, lips, or tray edges, redepositing them on enamel. This cascade of effects undermines the “one-size-fits-all” whitening promise.…
.jpg)
In the competitive oral care device market, branding is just as crucial as product performance. One of the most overlooked yet impactful aspects of brand identity on a physical product is logo craftsmanship on water flossers. For B2B buyers and OEM clients, selecting the right logo processing method—whether it's laser engraving, silk screen printing, or IMD inlaid signs—can influence not only aesthetics but also durability, production cost, and brand perception. This article offers a detailed comparison and technical insight into each process to help you make an informed decision. Overview of Logo Craftsmanship in Water Flosser Manufacturing As a professional water flosser factory, we understand that logo application is more than just decoration—it's an extension of your brand. The logo placement and durability can influence customer perception and product longevity. There are three mainstream methods for applying logos on water flosser housings: Laser Engraving Process Silk Screen Printing IMD (In-Mold Decoration) Inlaid Sign Each method has its own unique features, applicable scenarios, and limitations. Laser Engraving: Precision and Permanence The laser engraving process uses high-energy lasers to etch your brand logo directly onto the surface of the water flosser. This method ensures: High durability – resistant to fading, scratches, and moisture. Precision detailing –…
.jpg)
In the highly competitive personal care market, water flosser shell color matching plays an increasingly important role in brand identity and consumer appeal. For OEM/ODM customers, color is no longer just an aesthetic choice—it’s a branding tool. This blog explores the full solution path for color customization of water flossers, with a deep dive into technical methods like two-color injection molding process and gradient color spraying, helping water flosser factories and buyers make informed decisions. Step One: Understanding Pantone-Based Color Customization The first step in product customization begins with selecting the right Pantone color code. This universally recognized color standard ensures consistency across batches. However, matching Pantone codes to real-world plastic effects can be tricky due to: Differences in material light reflection (e.g., matte vs glossy) Resin base color and translucency Post-processing effects such as UV coating This step is critical for OEM clients who demand strict brand consistency. At the factory level, experienced water flosser factories often provide pre-production color samples for customer approval. Solution One: Two-Color Injection Molding Process The two-color injection molding process involves injecting two different colored plastics into the same mold in sequence or simultaneously. This process offers: High durability of color—no fading or peeling Integrated structure—no secondary painting…
.jpg)
With rising consumer awareness around hygiene and oral health, the integration of UVC sterilization into water flossers is becoming an essential trend. For water flosser factories, it is not only a technical challenge but also a product differentiation opportunity. This blog provides a detailed customization guide for UVC water flosser sterilization, focusing on wavelength selection, optimal irradiation time, and waterproof design – all critical factors for effective and safe implementation. Why UVC Sterilization Matters in Water Flossers UVC sterilization has proven to be highly effective in inactivating bacteria, viruses, and other pathogens. For water flosser disinfection technology, UVC offers a non-chemical, residue-free solution. When applied correctly, it helps prevent microbial buildup inside the water reservoir, nozzle, and tubing – key areas prone to contamination. Modern consumers are looking for hygienic and self-sterilizing personal care devices. By offering customized UVC water flosser sterilization, manufacturers can meet this demand and stand out in a competitive market. Wavelength Selection: Why 270nm is the Ideal Choice The choice of UVC wavelength directly affects sterilization efficiency. Scientific research has confirmed that 270nm ultraviolet modules deliver the highest germicidal effectiveness, especially against E. coli, staphylococcus, and other common oral pathogens. When developing a sterilization system, the integration…
When split bristles occur, users often only notice reduced cleaning performance, overlooking that prolonged use of frayed filaments can concentrate stress on the enamel surface and initiate enamel cracks. As a B2B manufacturer, understanding and mitigating this hazard is key to helping channel partners offer safer oral‐care solutions. 1. How Split Bristles Alter Contact Mechanics First, frayed bristle tips change how filaments engage the tooth: Pressure Concentration: Split ends become finer and stiffer, increasing localized force on enamel. Extended Friction Paths: Multiple branches sweep across the surface, multiplying abrasive interactions. Vibration Imbalance: Irregular tip structures respond unevenly to oscillation, causing hotspots of higher impact. Thus, bristle integrity directly influences enamel stress distribution. Micro-Mechanisms of Enamel Crack Formation Next, consider how enamel cracks develop at the microscopic level: Stress Accumulation: High-frequency, small-scale impacts from stiff bristles generate subsurface micro-fissures. Fatigue Damage: Repeated abrasion and compressive forces propagate these micro-cracks into larger fractures. Chemical-Mechanical Synergy: Abrasive byproducts and acidic oral conditions further weaken enamel, accelerating crack growth. Combined physical and chemical wear prime enamel for damage. User Habits That Amplify the Hazard Moreover, user behavior can magnify risk: Overbrushing on One Spot: Lingering too long with split bristles repeatedly assaults the same…
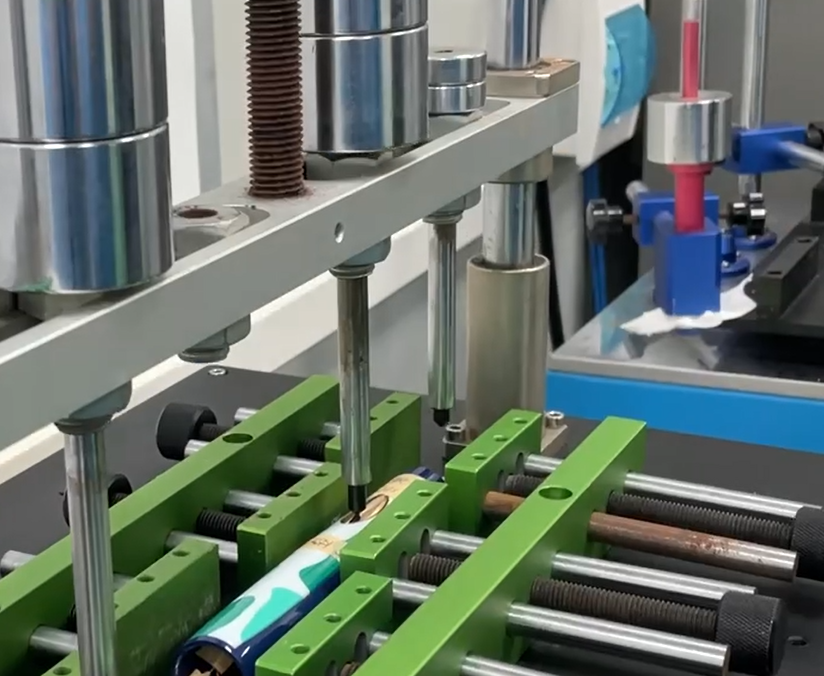
In the highly competitive electric toothbrush market, product aesthetics, functionality, and safety play an increasingly critical role. A high-quality surface finish not only enhances the user experience but also reinforces the brand image. Two of the most widely used surface finishing techniques in the industry are toothbrush UV spraying and PU coating process. But how do they compare in terms of matte finish, anti-slip properties, and environmental safety? This blog presents a detailed comparison to help sourcing managers and product developers make informed decisions. Understanding the Two Coating Methods What is Toothbrush UV Spraying? UV spraying involves applying a specialized UV-curable coating to the toothbrush handle, followed by exposure to ultraviolet light to harden the coating. This method offers excellent scratch resistance, a sleek appearance, and faster production cycles. It is commonly used in modern electric toothbrush factories looking for efficiency and a high-gloss or matte finish. What is PU Coating Process? The PU coating process involves the application of polyurethane layers, which are air-cured or heat-cured. PU coatings are valued for their soft-touch feel, durability, and versatility. They are particularly effective when used for matte anti-slip treatment, making them ideal for handheld devices that are frequently exposed to water. Matte Finish…
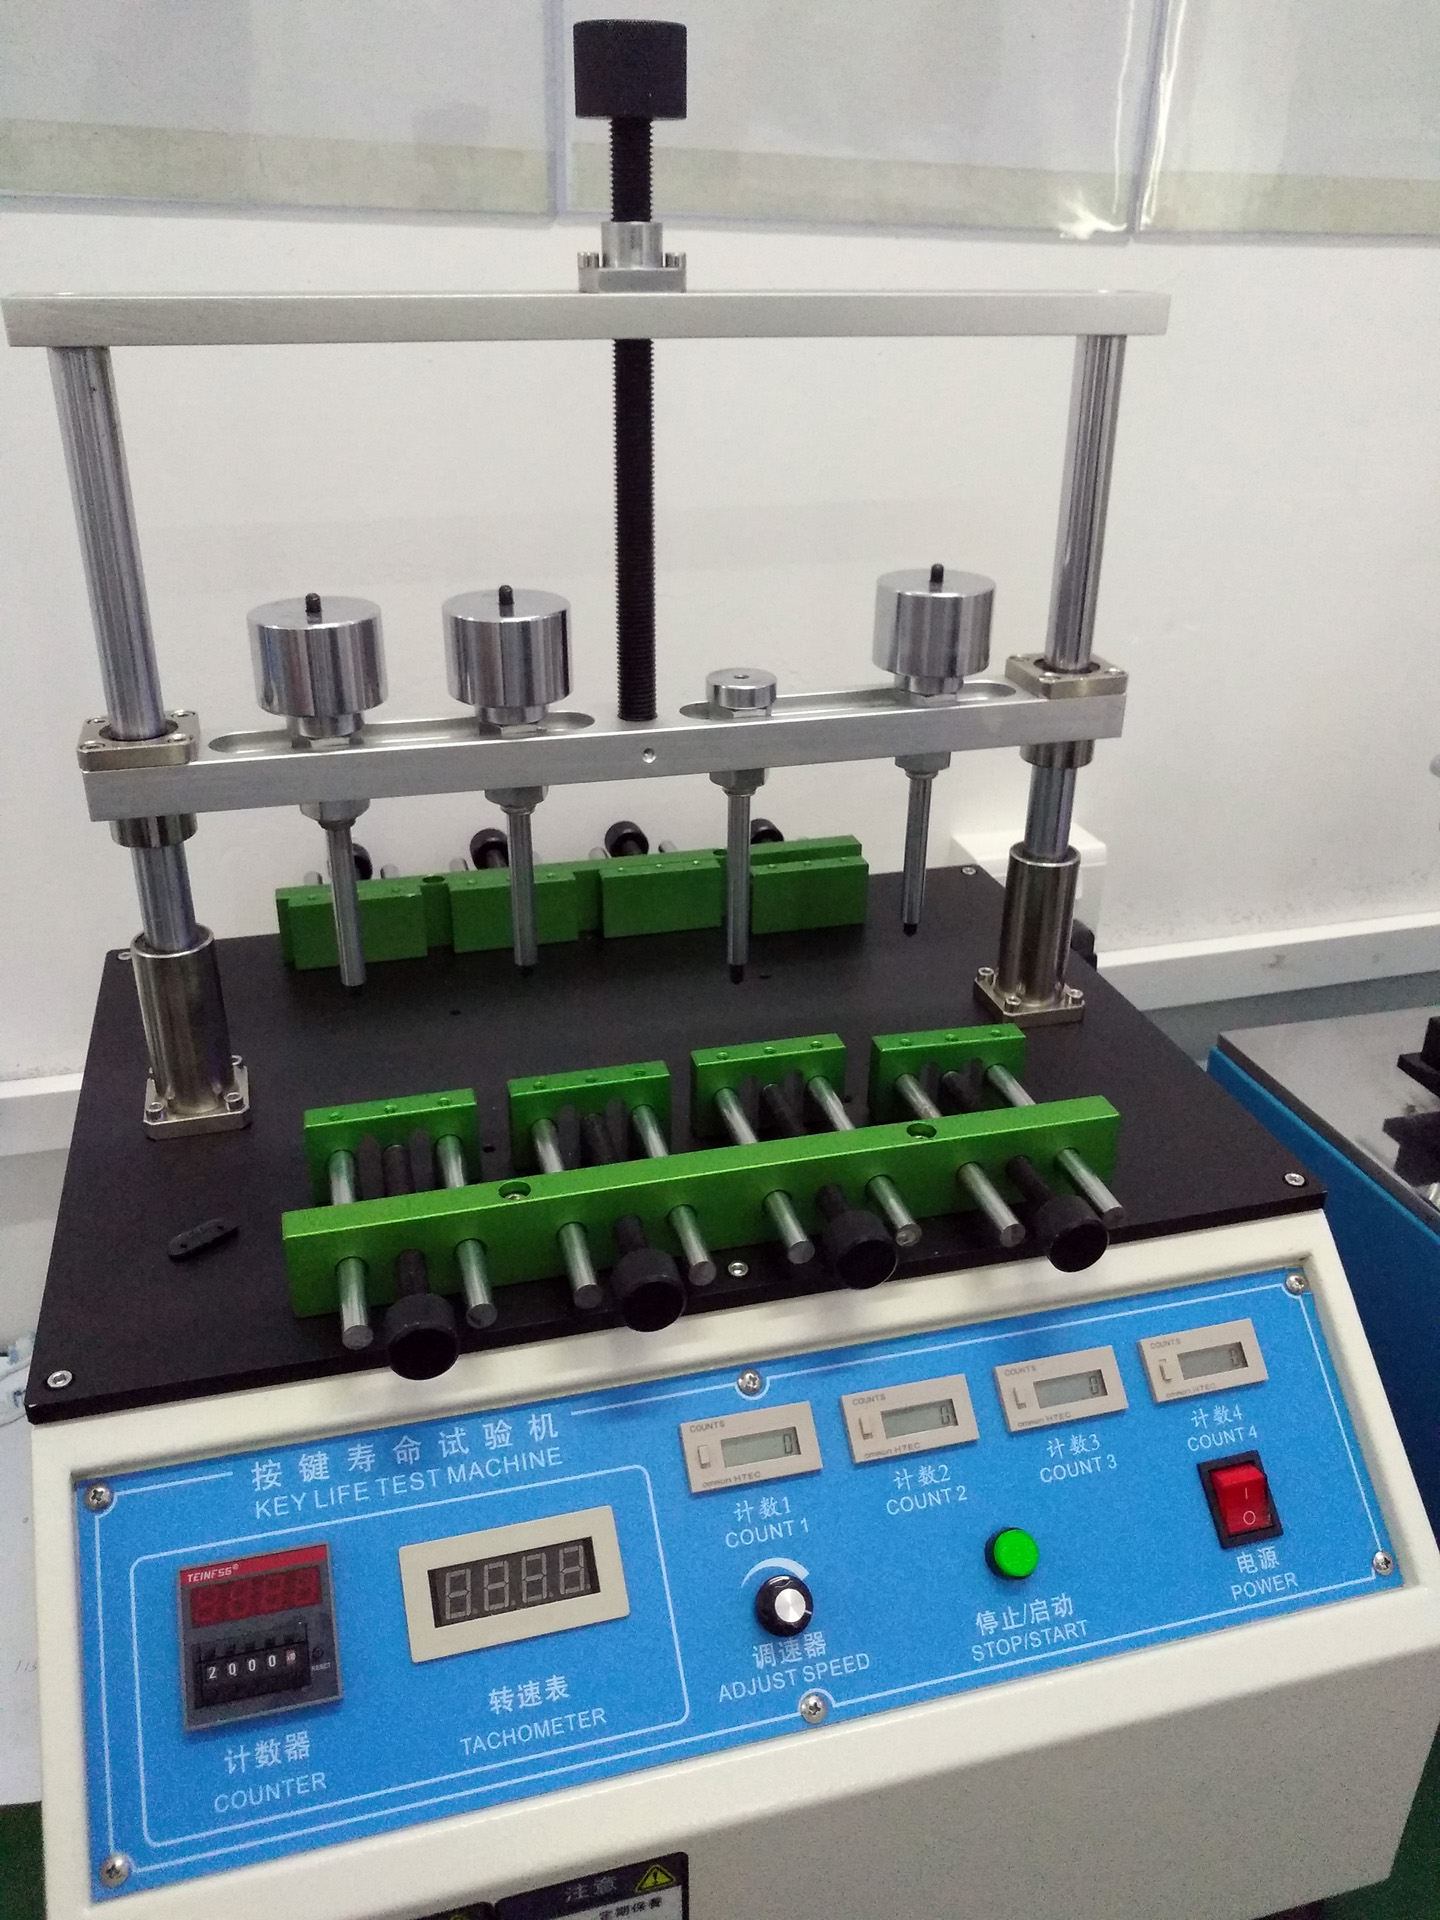
As the electric toothbrush market becomes increasingly competitive, design innovation and surface customization have become key differentiators for brands. Manufacturers are now exploring advanced decoration techniques such as water transfer printing and thermal transfer printing to improve both the visual appeal and surface durability of toothbrush shells. This article explores how these processes enhance the 3D texture shell appearance and the results of the transfer wear test, offering practical insights for any electric toothbrush factory aiming to elevate their product quality. Toothbrush Water Transfer Process: Realistic, Immersive 3D Effects The toothbrush water transfer process (also known as hydrographic printing) involves applying printed patterns onto three-dimensional surfaces via a water-soluble film. This technique allows electric toothbrush shells to adopt a wide variety of natural textures such as carbon fiber, marble, or woodgrain, giving products a high-end, customized look. Advantages: Achieves complex full-surface decoration. Supports high-resolution pattern fidelity. Ideal for creating 3D texture shells with depth and realism. Water transfer printing is especially beneficial for ergonomic, curved surfaces that are difficult to decorate using conventional printing methods. Thermal Transfer Customization: Precision and Mass Production Efficiency Thermal transfer customization uses heat and pressure to apply pre-printed patterns or graphics to the toothbrush shell. This method is often favored for large-scale…
Recent in-house tests suggest that excessive cold light radiation used in teeth-whitening devices may exacerbate enamel demineralization by creating microthermal effects that weaken surface mineral content. To help B2B partners understand these findings, we’ll break down our lab methodology, key results, and actionable design improvements across six crucial areas. Lab Methodology: Simulating Clinical Use First, we replicated typical at-home whitening protocols under controlled conditions: Light Exposure Cycles: Samples underwent 10-minute blue-light sessions at 420–450 nm, three times daily for two weeks. Demineralization Challenges: After each session, specimens were immersed in acidified saliva analog to mimic oral pH fluctuations. Mineral Analysis: Using microhardness testing and scanning electron microscopy (SEM), we quantified changes in surface mineral density and microstructure. This rigorous setup isolates the specific impact of cold light versus chemical bleaching alone. Key Findings: Mineral Loss Quantified Next, our results revealed a clear trend: 10–15 % Hardness Reduction: Cold-light-exposed enamel showed a 12 % average drop in Vickers hardness compared to non-irradiated controls. Surface Porosity Increase: SEM imaging detected a 20 % rise in micro-pore area, indicating accelerated mineral leaching. Depth of Demineralization: Cross-sectional analysis found demineralized zones extending up to 50 µm beneath the surface, versus 30 µm without light.…
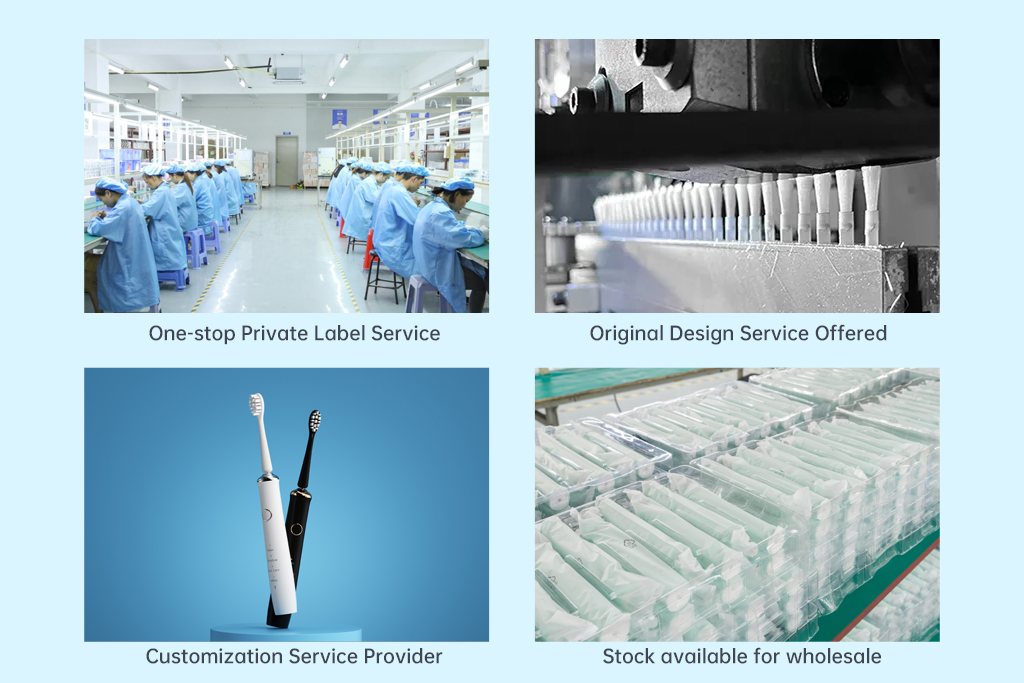
For electric toothbrush manufacturers, printing technology is not just about labeling—it’s a vital part of branding and user experience. Choosing the right technique between the toothbrush screen printing process and pad printing technology can significantly impact both production quality and visual appeal, especially when dealing with multi-color pattern printing or gradient effects. This blog provides a technical pad printing technology comparison and helps you determine the best method based on your product design complexity, material compatibility, and performance requirements. Understanding the Screen Printing Process for Electric Toothbrushes The electric toothbrush screen printing process involves transferring ink through a mesh stencil onto the curved surface of the brush handle. It's ideal for: Simple, bold designs High ink deposit for durability Flat or slightly curved surfaces Advantages: Strong color density and sharp edges Excellent for single or dual-color logos Proven durability under abrasion and humidity However, screen printing may face limitations with detailed gradients and complex multi-tone images, especially on highly contoured surfaces common in modern toothbrush handle designs. Pad Printing Technology: Flexible and Precise for Complex Designs Pad printing technology uses a silicone pad to transfer ink from an etched plate onto the product surface. This flexible pad adapts to curved and textured shapes, making it an excellent…
When an electric toothbrush experiences a vibration malfunction, the handle can produce excessive or erratic amplitudes that not only compromise cleaning but, over time, may trigger gum recession. To help B2B manufacturers understand this critical risk, we analyze six key dimensions and provide actionable design and support strategies. How Vibration Malfunctions Damage Periodontal Tissue First, abnormal vibration patterns harm gums through: Excessive Instant Amplitude: Sudden high-amplitude jolts tear the fibers attaching the gum to the tooth neck. Frequency Instability: Rapid frequency shifts create micro-tears in the gingival tissue that accumulate into recession. Resonance Amplification: If the motor frequency resonates with the handle’s structure, localized motion spikes, worsening the impact. Understanding these mechanisms enables targeted improvements to vibration control. User Habits That Amplify the Risk Next, brushing behaviors can magnify the harm from malfunctions: Increased Brushing Force: Users often press harder to compensate for lost cleaning power, further stressing the gums. Prolonged Dwell Time: Lingering on one area subjects the same gum region to repeated impacts. Frequent Mode Switching: Repeatedly toggling modes can trigger more erratic vibrations, intensifying tissue damage. Guiding users on correct grip and brushing motion is therefore essential. Common Design Flaws Leading to Vibration Malfunction Furthermore, these design…


.jpg)
.jpg)
.jpg)
.jpg)
.jpg)
.jpg)
.jpg)
.jpg)
.jpg)