Have you ever wondered if you could create your own electric toothbrush?
Well, wonder no more! In this guide, we will walk you through the step-by-step process of making your very own electric toothbrush from scratch. With just a few materials and a little bit of time, you’ll have a personalized toothbrush that will leave your teeth feeling clean and fresh. So, let’s get started!
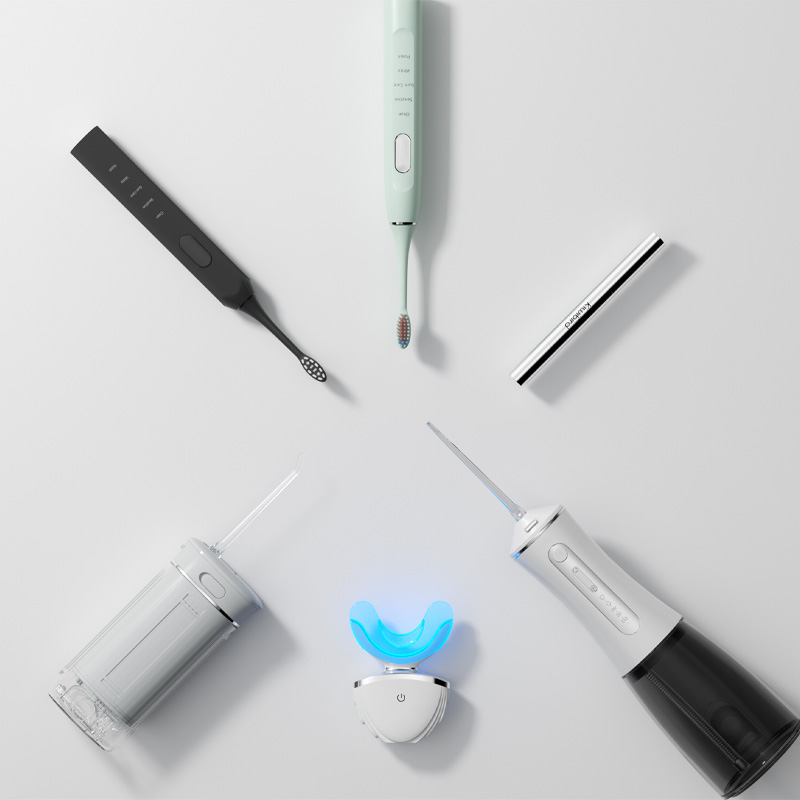
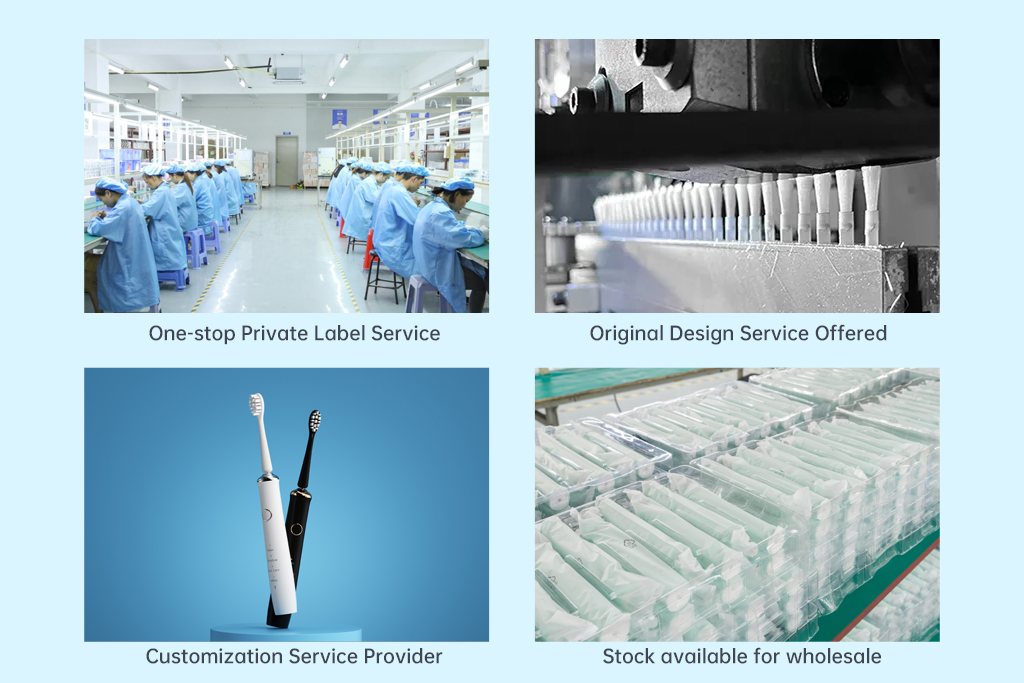
As a leading electric toothbrush manufacturer, we offer wholesale options for those looking to stock up on this essential oral care product.
Before we dive into the process, let’s gather all the materials you’ll need to make your own electric toothbrush:
You can find these materials at your local hardware store or online. Once you have everything ready, we can move on to the next step!
Our electric toothbrush factory, the perfect solution for dental hygiene enthusiasts.
The first step in making your own electric toothbrush is to gather all the necessary components. Start by finding a toothbrush handle that you like. You can choose a regular toothbrush handle or get creative with a unique design.
Next, locate a small electric motor that will fit inside the handle. You can find these motors in electronic supply stores or salvage them from old electronics.
Finally, gather the battery pack, wires, switch, and glue. These components will be used to power and control your toothbrush.
Once you have all the components in front of you, you’re ready to move on to the next step!
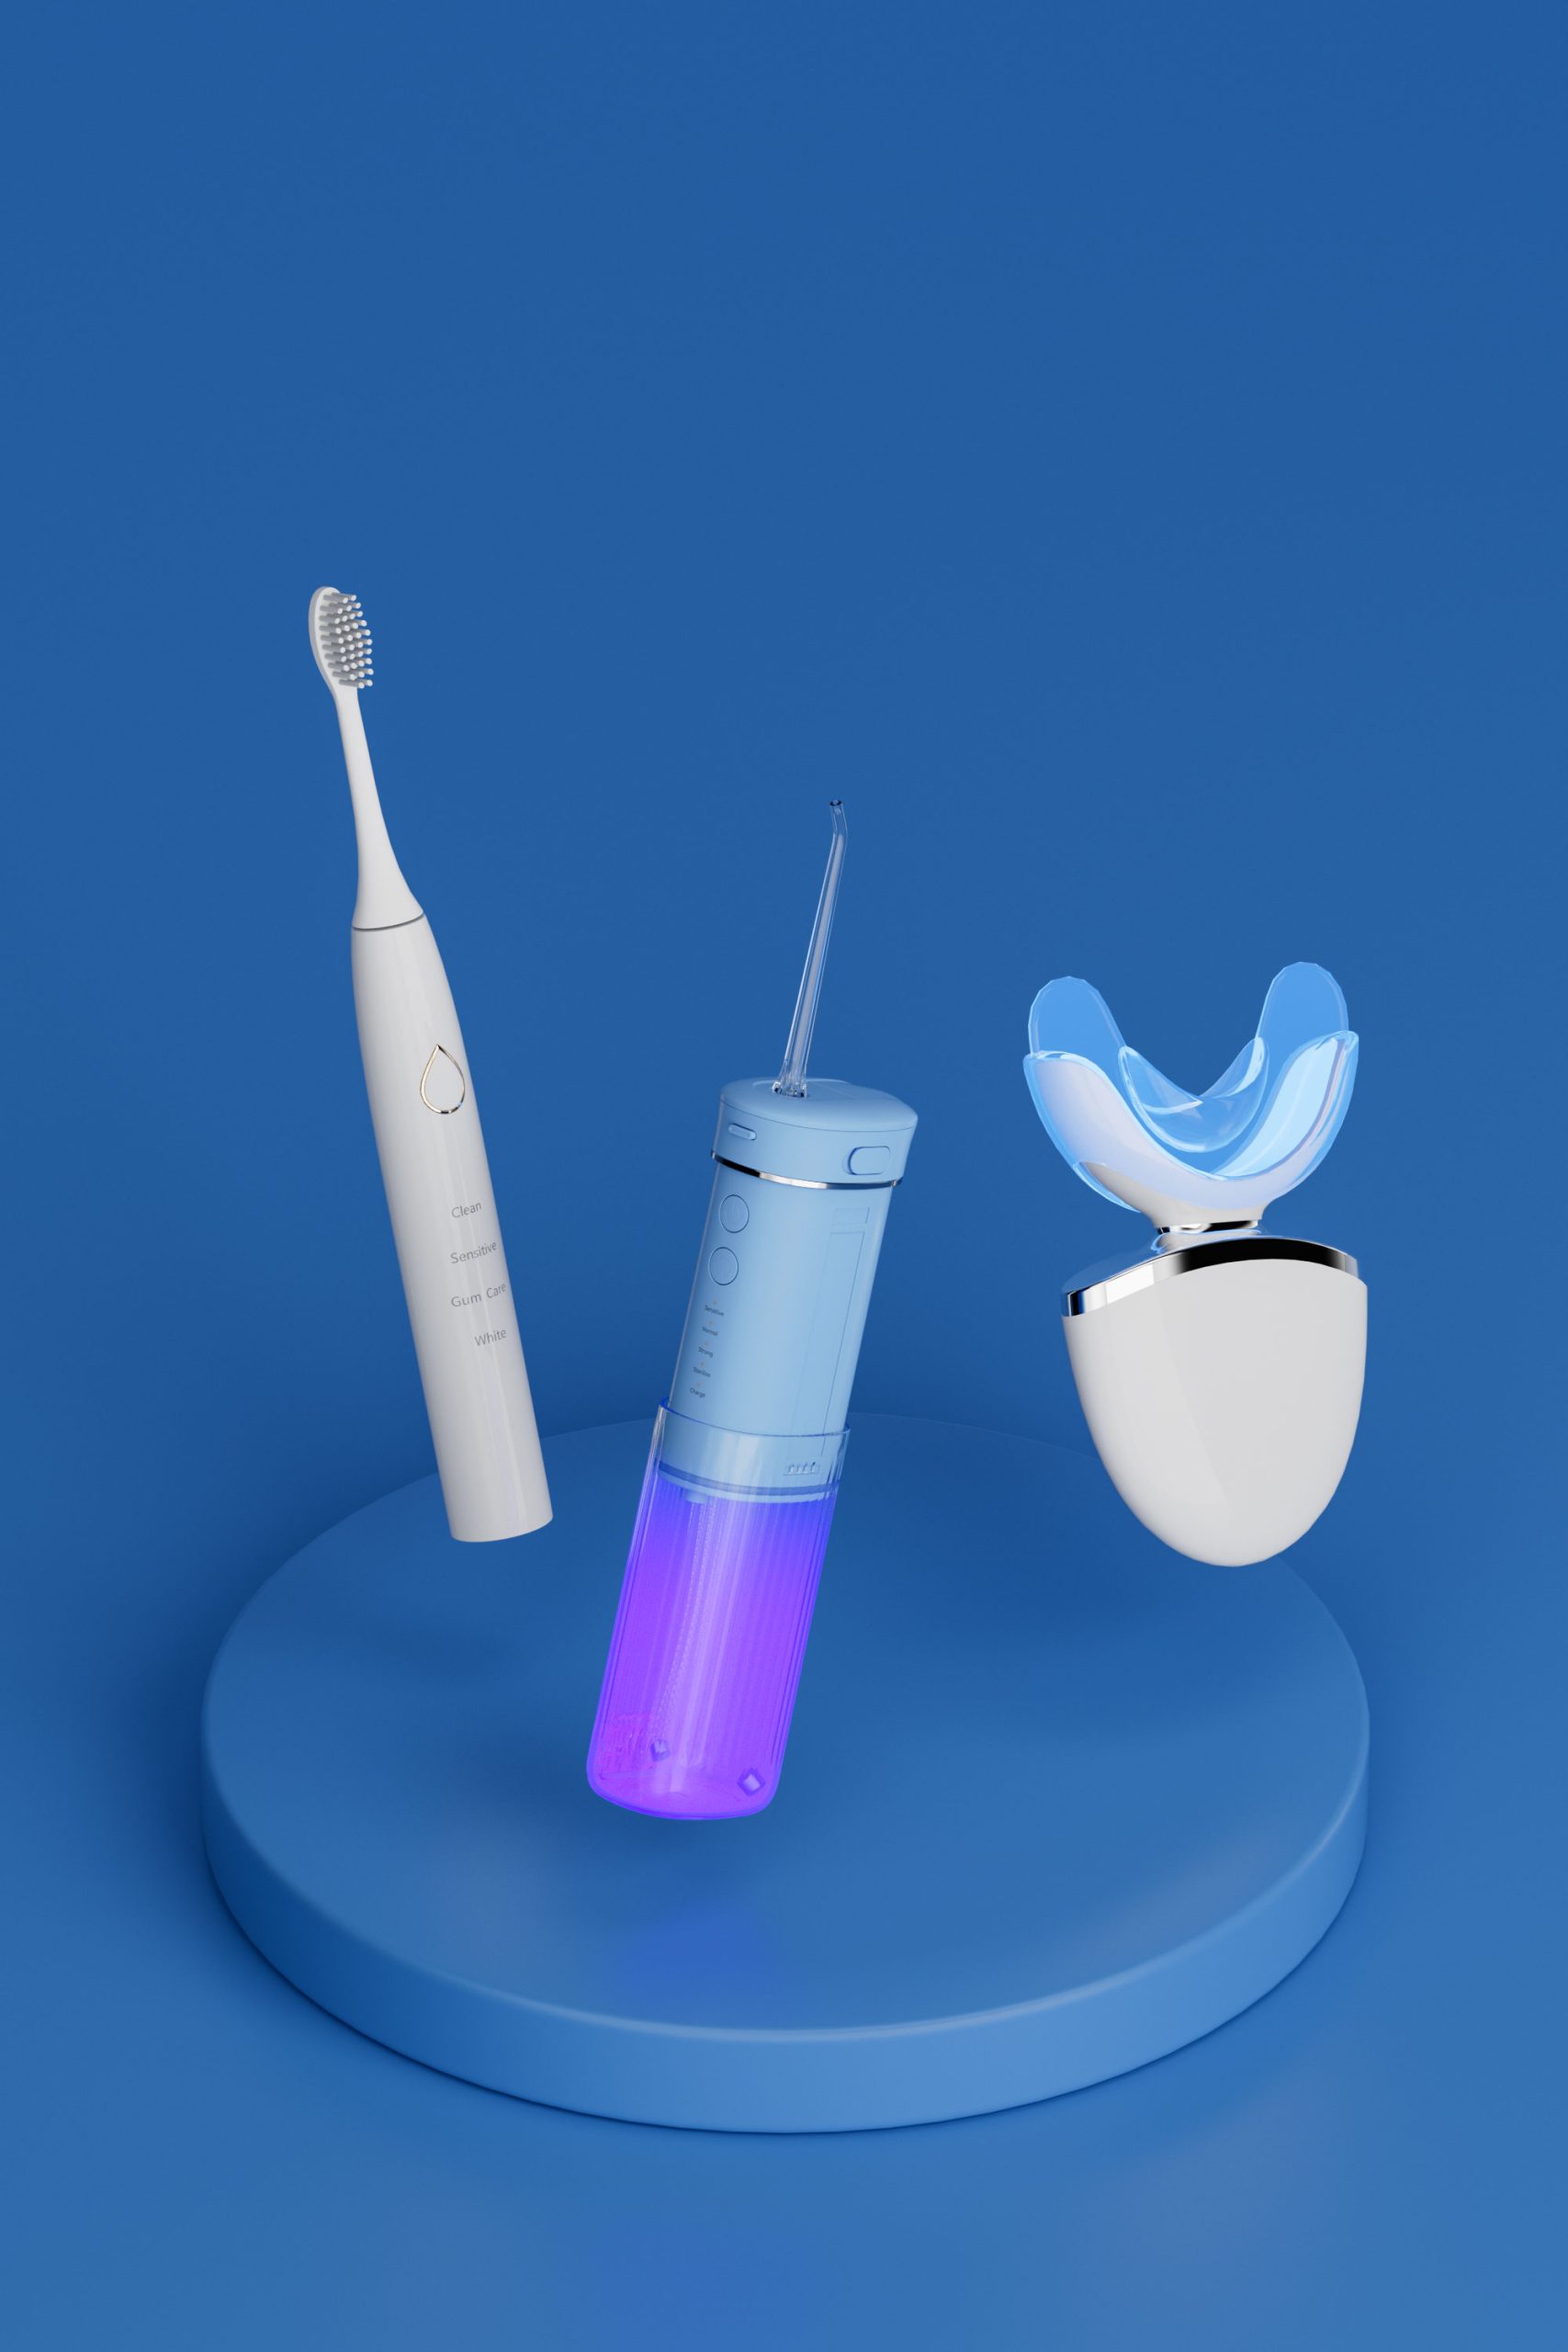
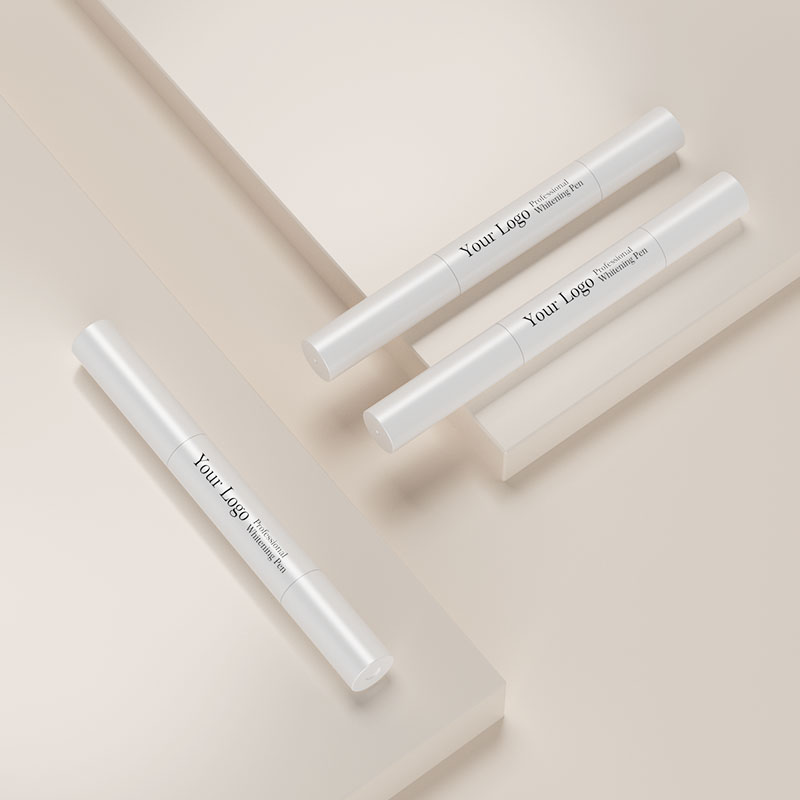
POWSMART teeth whitening kit factory allow businesses to offer their own line of teeth whitening products without having to develop them from scratch.
Now that you have all the components, it’s time to assemble the handle of your electric toothbrush. Start by removing any bristles from the toothbrush handle. This will create space for the motor and other components. Next, carefully drill a small hole in the handle to accommodate the motor shaft. Make sure the hole is the right size to fit the motor snugly. Once the hole is ready, insert the motor into the handle and secure it in place with glue. Allow the glue to dry completely before moving on to the next step.
With the handle assembled, you’re one step closer to having your very own electric toothbrush!
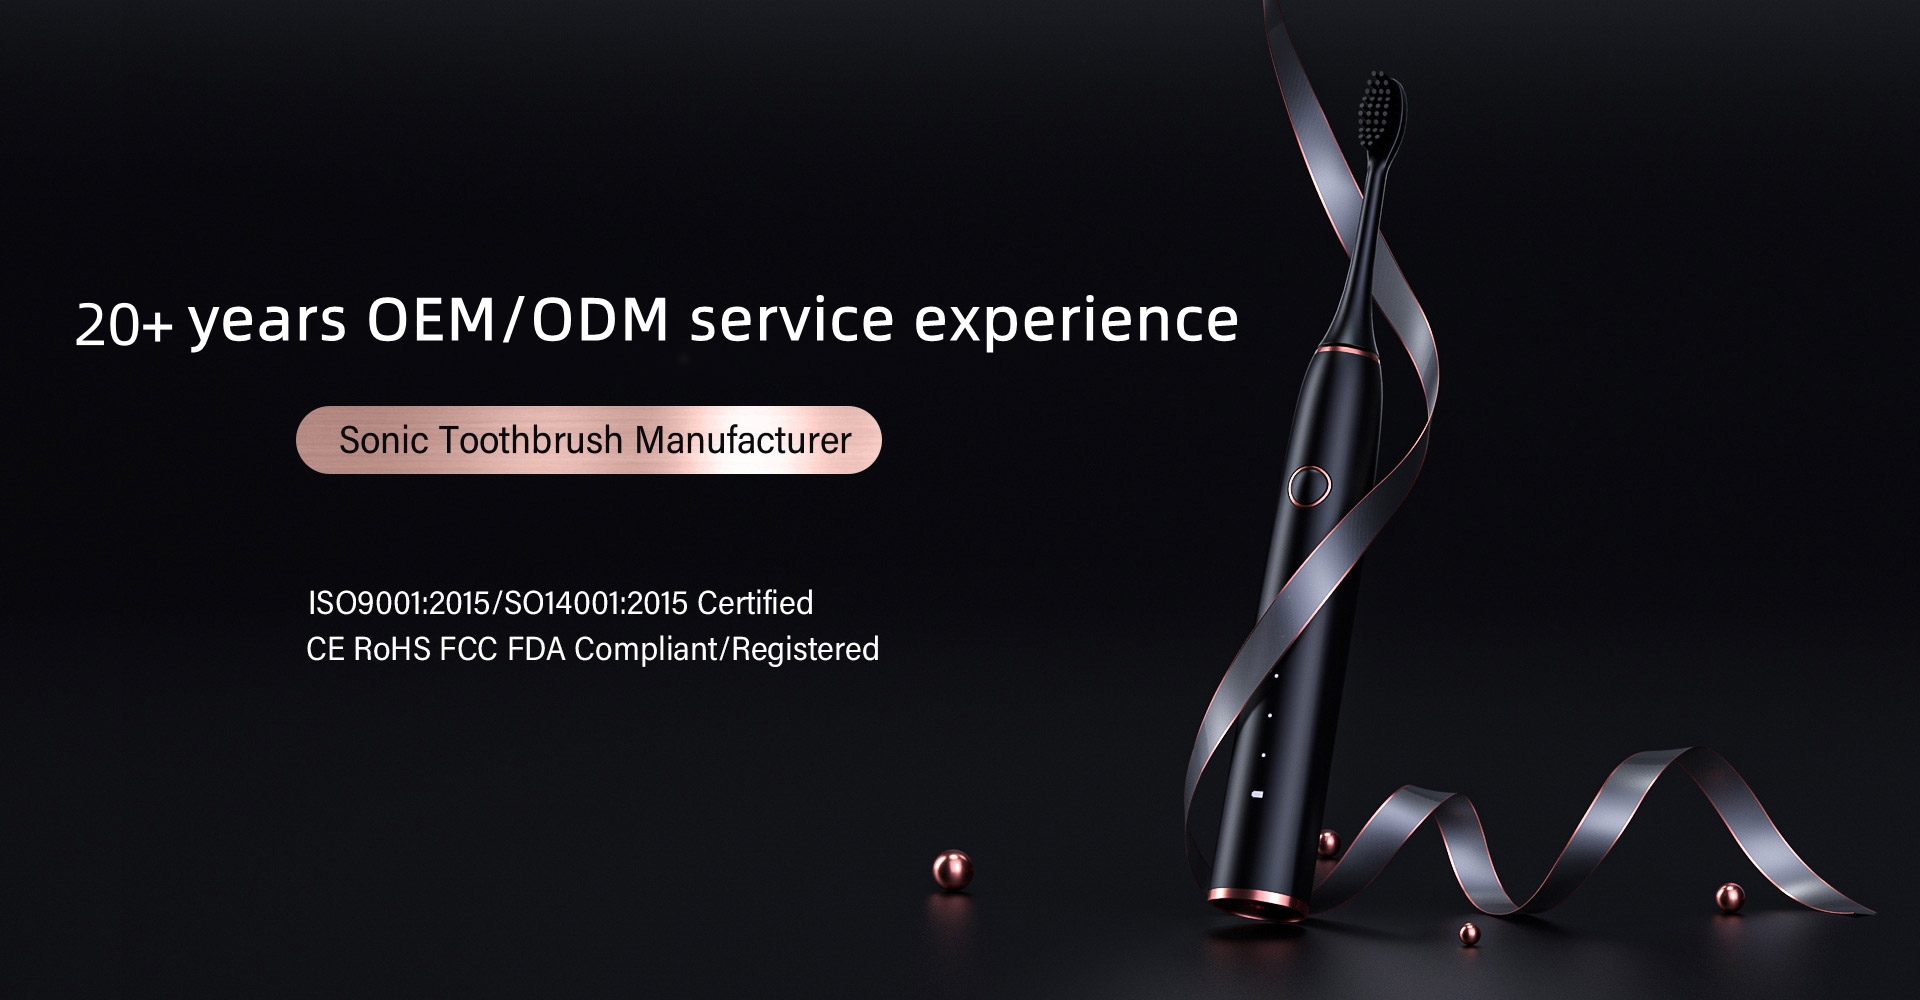
Powsmart private label electric toothbrush allows clients to brand the toothbrushes with their own logo and design, creating a unique product that reflects their brand identity.
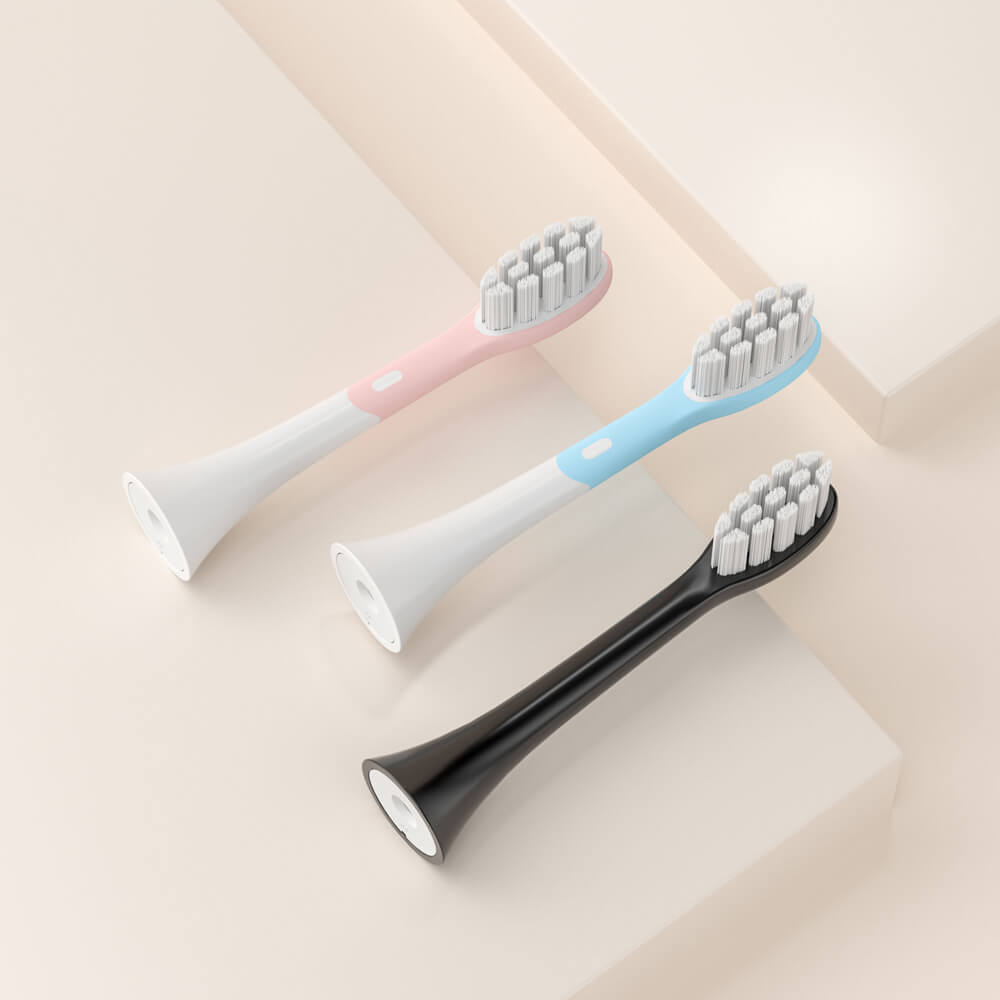
The brush head is an important part of any toothbrush, and making your own electric toothbrush is no exception.
To create the brush head, start by choosing the bristles you want to use. You can use regular toothbrush bristles or opt for softer bristles if you have sensitive gums. Once you have the bristles, cut them to your desired length. Then, carefully drill small holes in the brush head to accommodate the bristles. Insert the bristles into the holes and secure them in place with glue. Allow the glue to dry completely before moving on to the next step.
With the brush head created, your electric toothbrush is starting to take shape!
Powsmart with our customized electric toothbrushes, clients can offer their customers a high-quality oral care solution that is tailored to their needs.
Now that you have both the handle and brush head ready, it’s time to connect them together. Start by attaching wires to the motor terminals. Make sure the wires are securely connected to the motor. Next, pass the wires through the hole in the handle and connect them to the battery pack. Finally, attach the switch to the wires to control the flow of electricity to the motor. Once everything is connected, test the toothbrush to make sure it’s working properly. If it is, secure all the connections with glue to prevent any accidental disconnections.
With the handle and brush head connected, your electric toothbrush is almost complete!
Before you start using your homemade electric toothbrush, it’s important to test it to ensure it’s safe and functional. Turn on the switch and observe the brush head. It should rotate smoothly and without any obstructions. If there are any issues, double-check your connections and make any necessary adjustments. Once you’re satisfied with the performance, you’re ready to start using your very own electric toothbrush!
To keep your homemade electric toothbrush in good condition, follow these maintenance tips:
By following these tips, you can ensure that your homemade electric toothbrush lasts for a long time.
Congratulations! You’ve successfully made your own electric toothbrush from scratch. By following the step-by-step process outlined in this guide, you’ve created a personalized toothbrush that will leave your teeth feeling clean and fresh. Remember to maintain your toothbrush regularly to keep it in good condition.
Now, go ahead and enjoy the benefits of your homemade electric toothbrush!
.jpg)
Dallas Toothbrush Sale: Factory-Direct Discounts with Global Shipping
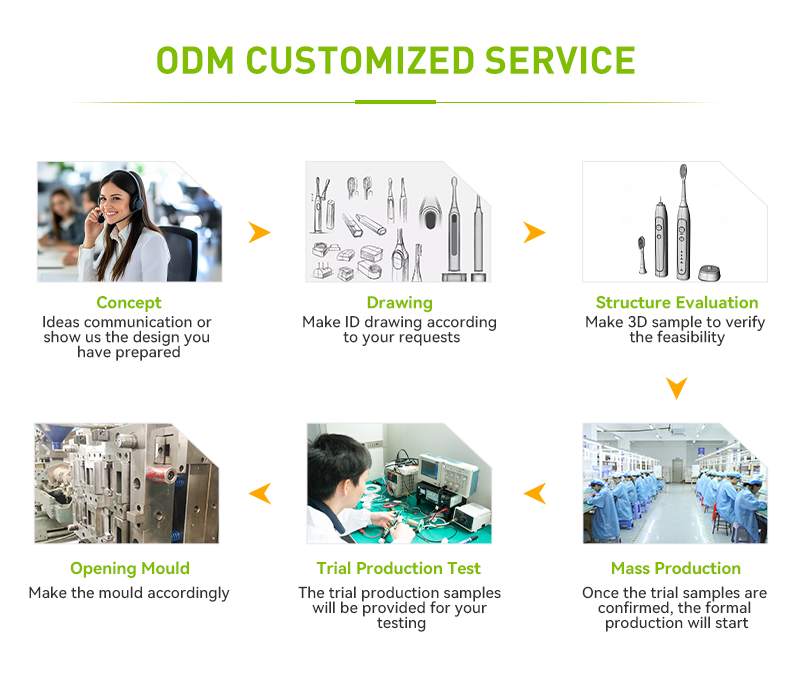
How to Avoid Legal Risks in the OEM Process of Electric Toothbrushes
Houston Pressure Sensor Toothbrush – Protect Your Gums with Powsmart

Why Should an Anti-bacterial Hose Be Constructed from Medical-grade Material?
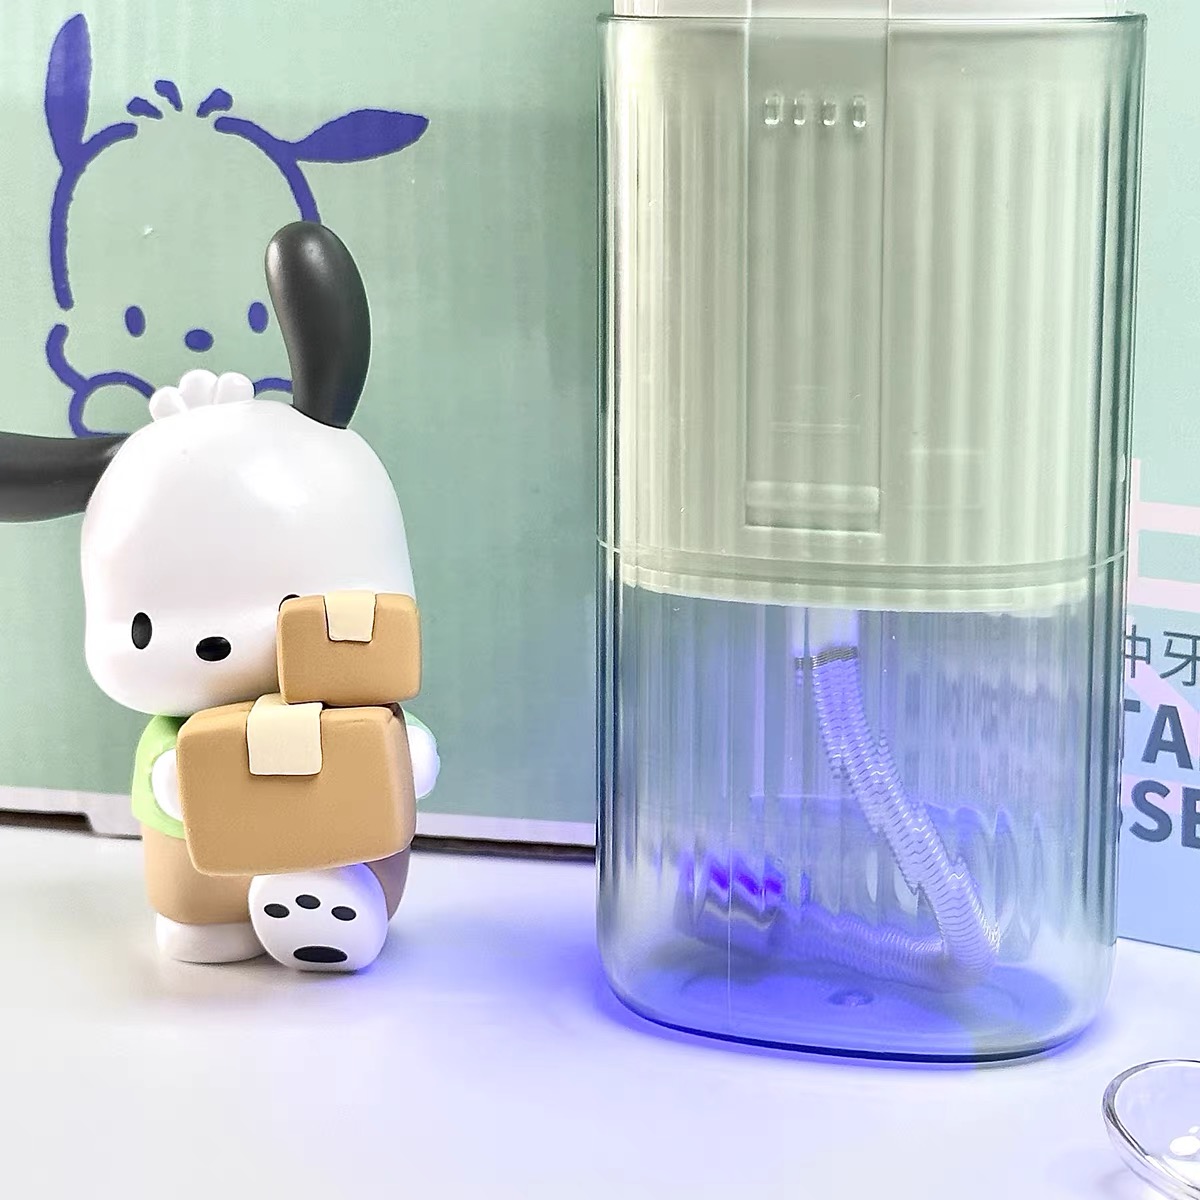
UVC Sterilization in Oral Care: A Guide for Water Flosser & Toothbrush OEMs
Seeking full OEM/ODM Services backed by a reliable Global Logistics Partner?
Electric Toothbrush Reseller Program Wholesale
Need a Reliable Water Flosser Pump OEM for Your Oral Irrigator Components?

How to Choose an Electric Toothbrush Factory for Superior Cleaning Power?
Kids Electric Toothbrush Bulk Supplier | School and Clinic Programs
FAQ for New Water Flosser Brands: Avoiding Costly OEM Mistakes
Sustainable Corporate Gifts Eco-Friendly Toothbrush Washington | Green Wellness
Need ADA Certified Toothbrush Products for Dental Clinic Supply?
Can a Torque Control Motor Benefit from Advanced Kinematic Pair Design in Electric Toothbrushes?
Is Your Oral Care Gentle Enough?
Does Magnetic Levitation Toothbrush Experience Brush Shedding?

.jpg)
.jpg)
.jpg)
.jpg)
.jpg)


.jpg)