Interested in Multi-mode Whitening Device Manufacturing and a Distributor Partnership Program Dental?
.jpg)
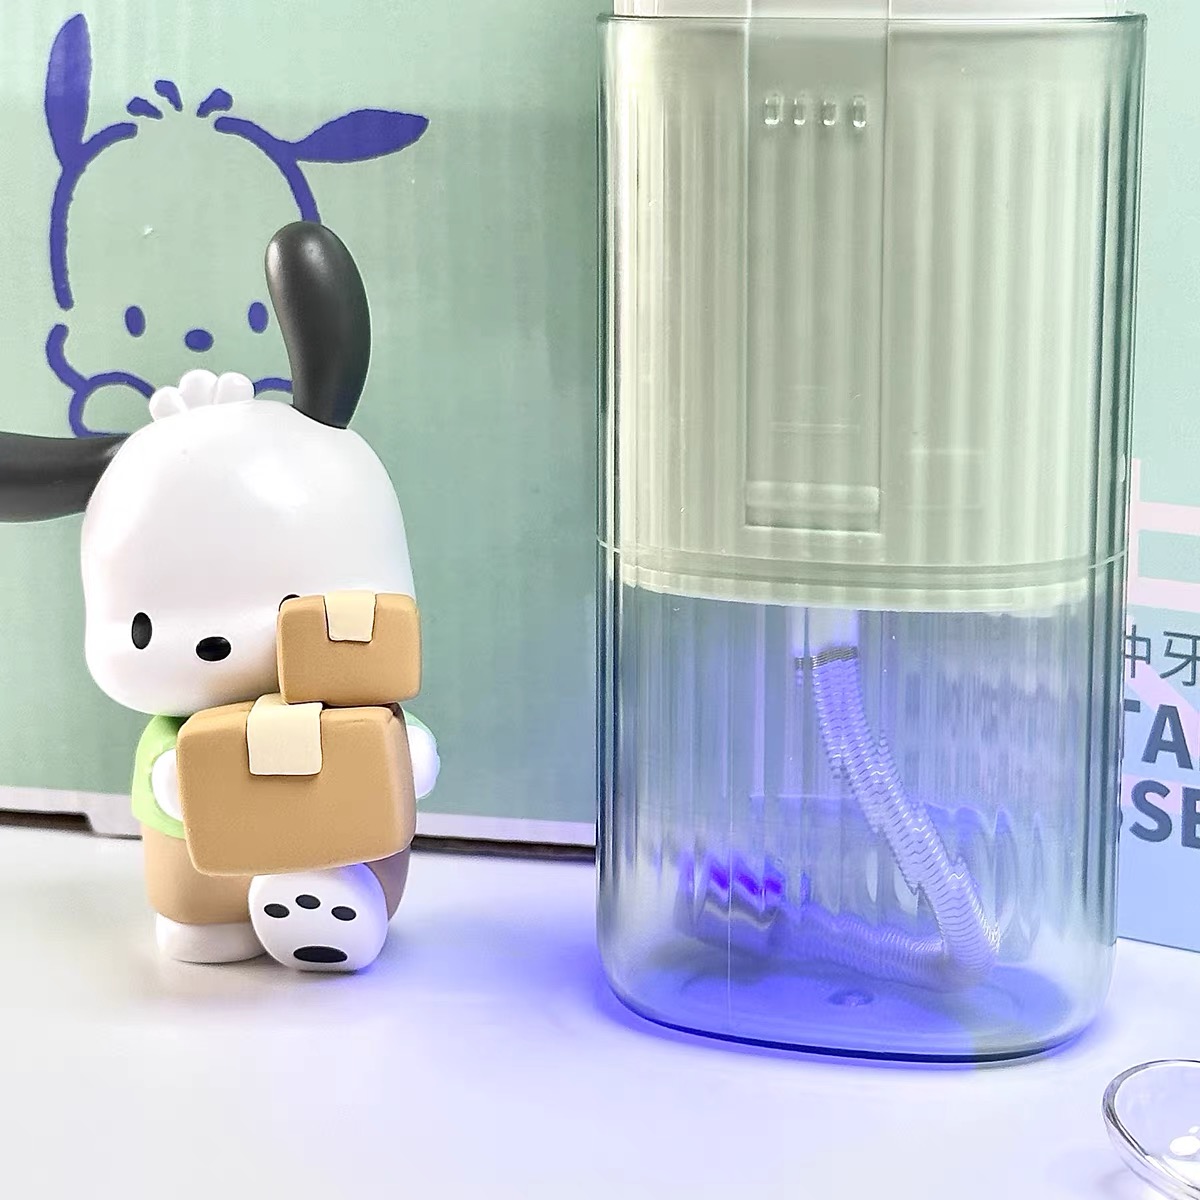
Toothbrush Storage Hygiene Mistakes Guide: Avoid Bacteria Growth
How Does Supply Chain Logistics Affect the Integration of a Battery Management System?
How Does Effective Tartar Control Lead to Gum Health Improvement?
Natural Oral Care Trends Analyzed
How Can Federated Learning for Oral Health Improve Your Oral Health Digital Twin Models?
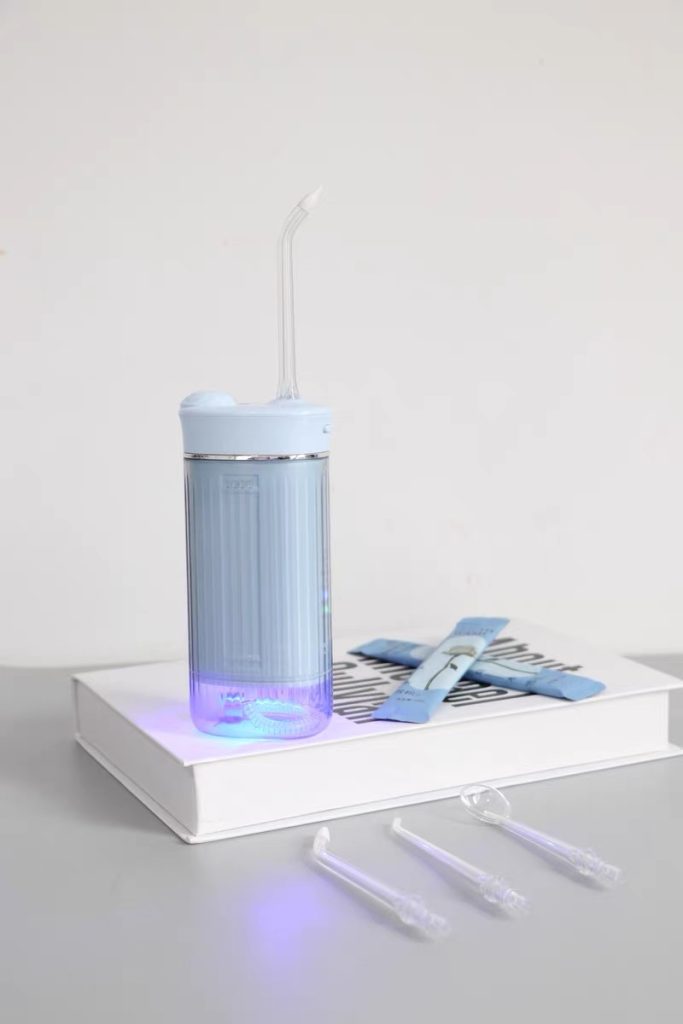
Orthodontic Water Flosser Braces Cleaning: Keep Braces Clean
Why is an LED Whitening Lamp Critical for Activating an Accelerated Whitening Solution?
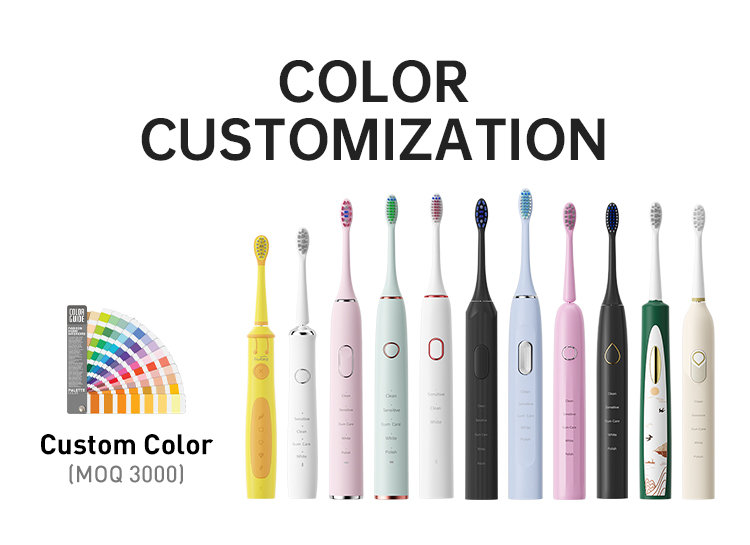
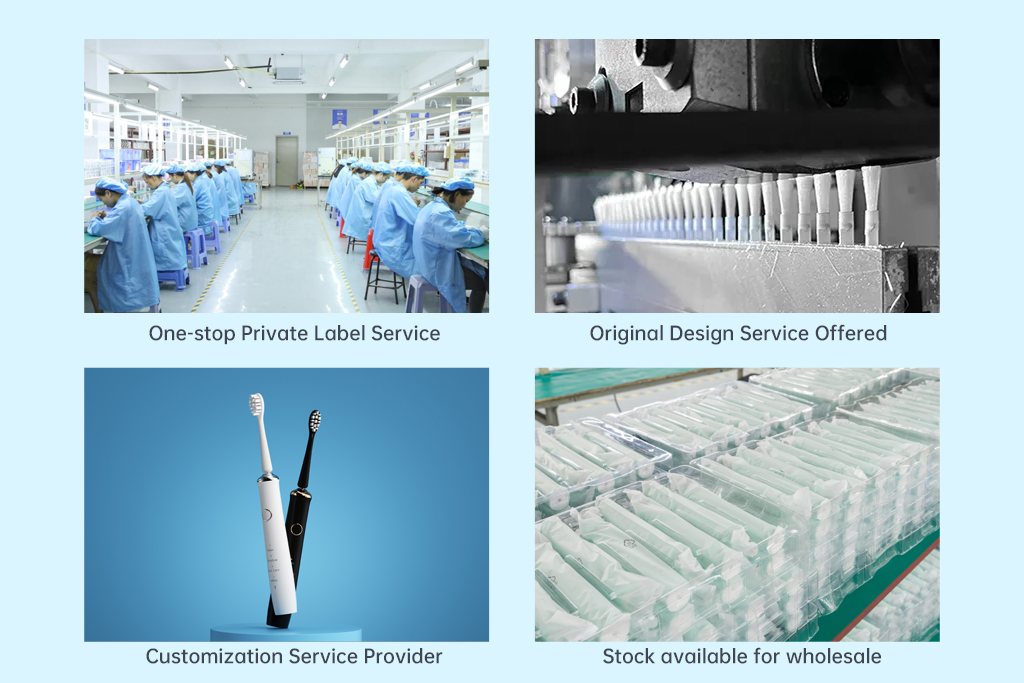
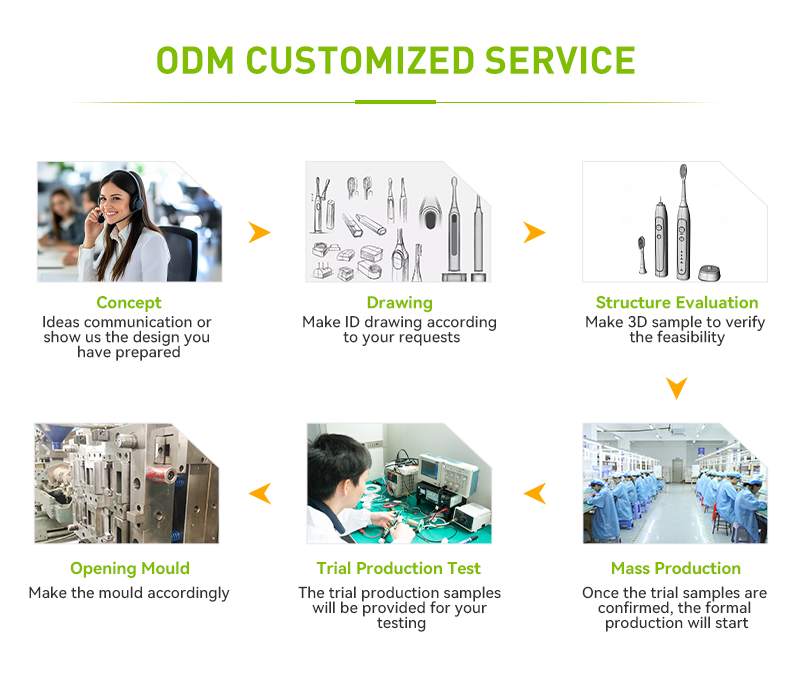
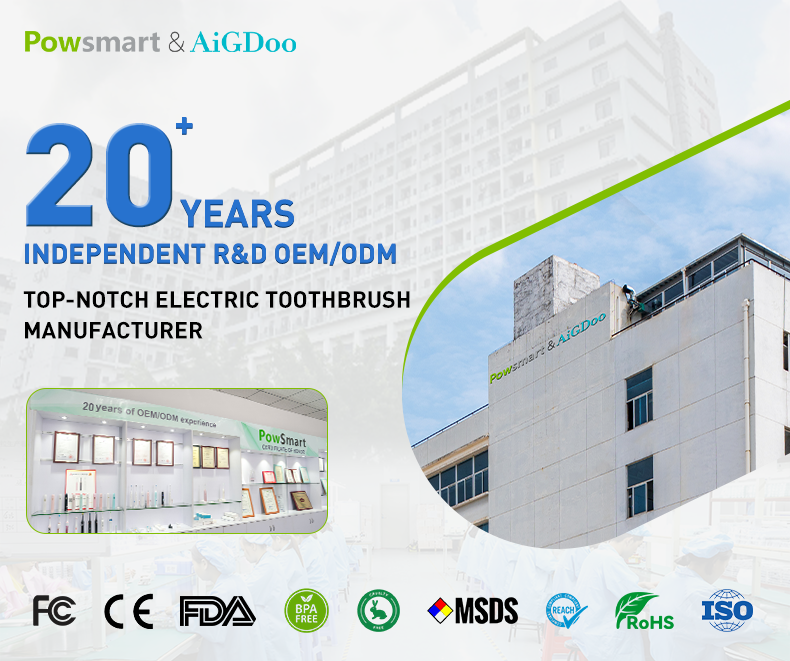
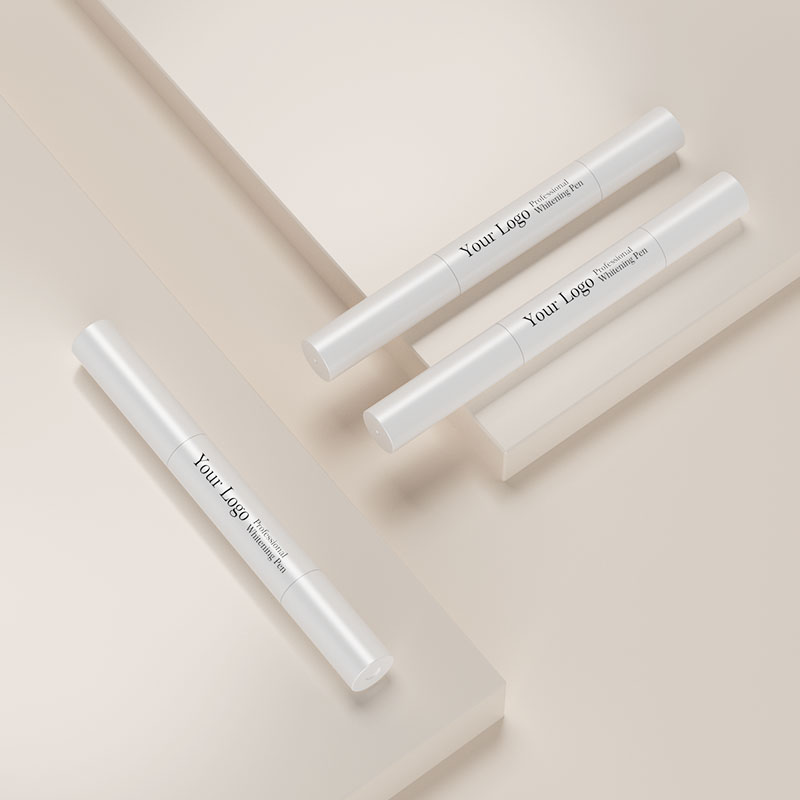
ODM Teeth Whitening Device Manufacturer for Custom Brand Development
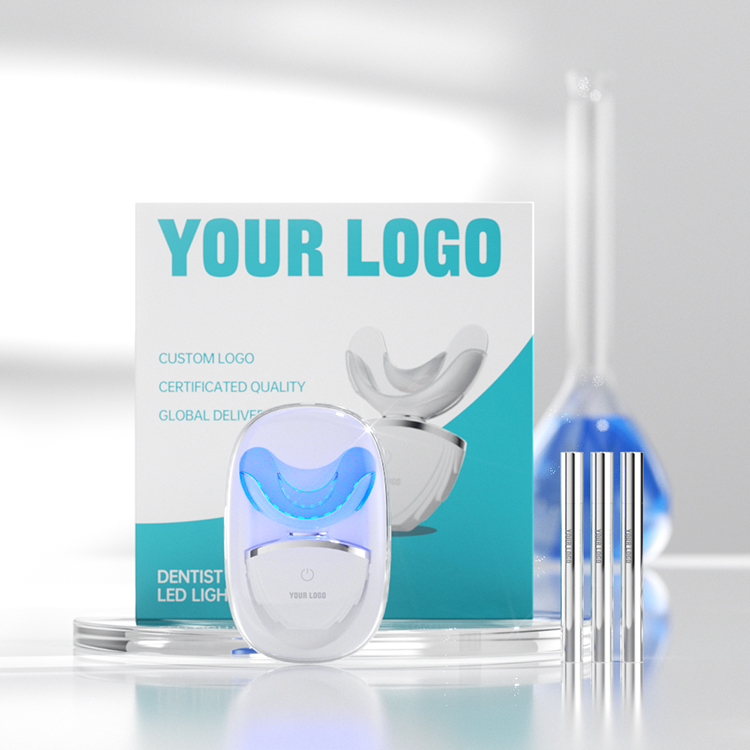
Can Custom Tray Design Be Incorporated into a Portable Whitening Kit for On-the-go Use?
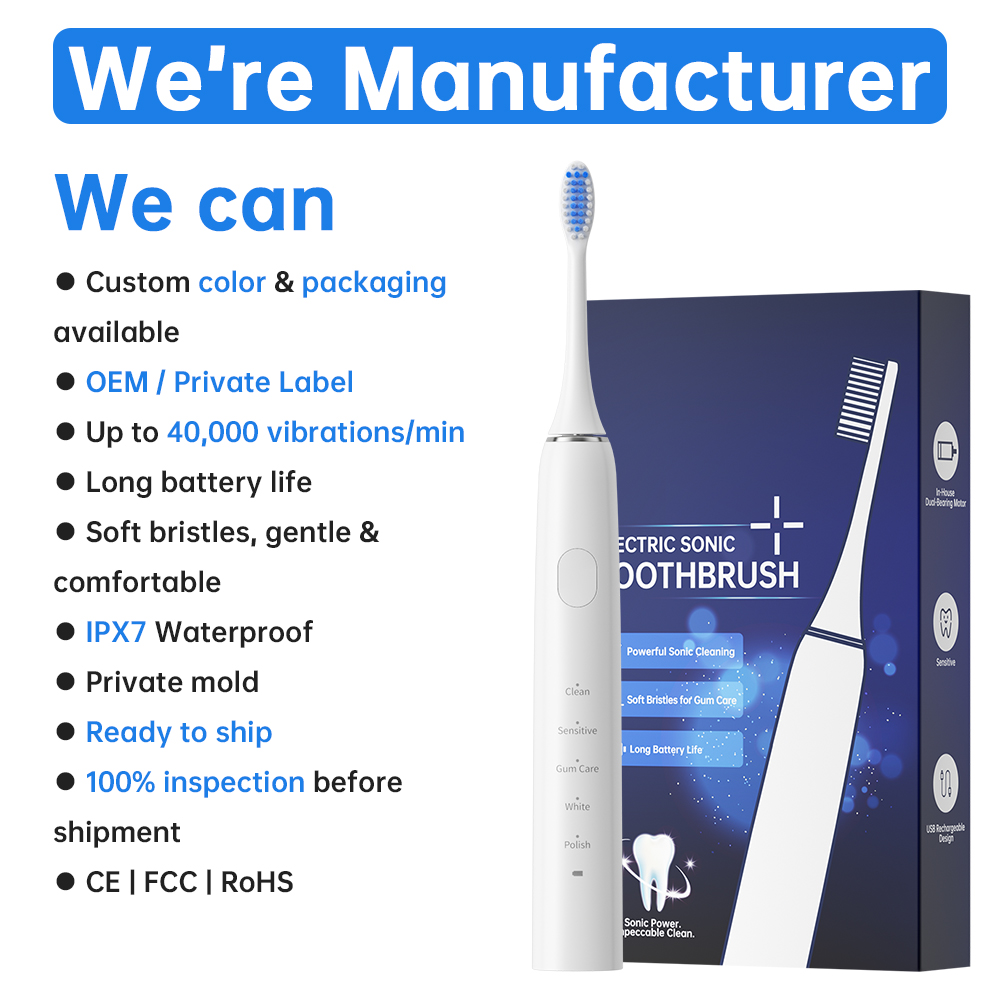
Red Light Gum Care Toothbrush OEM Factory
Which company is best for electric toothbrushes?
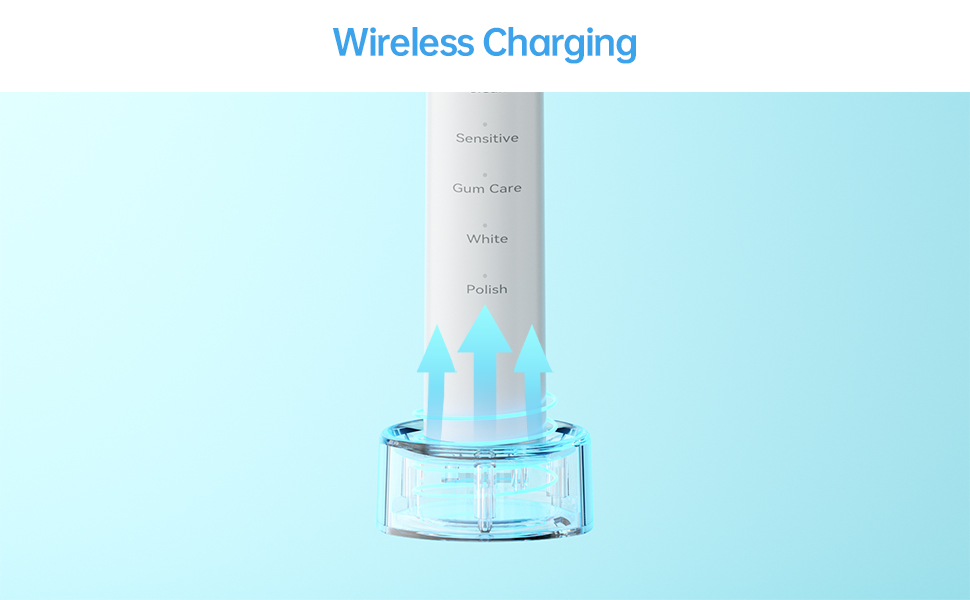
Electric Toothbrush Charging Type OEM
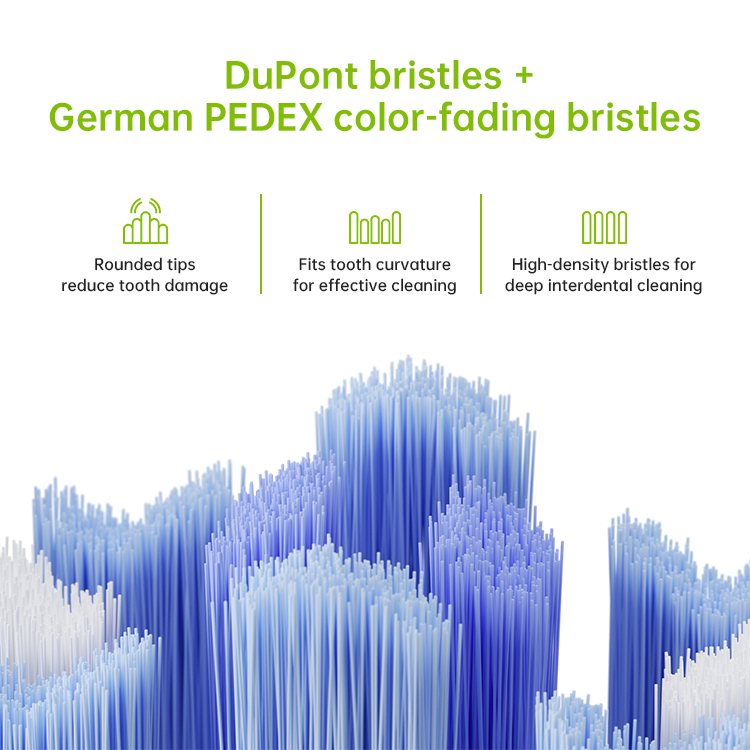
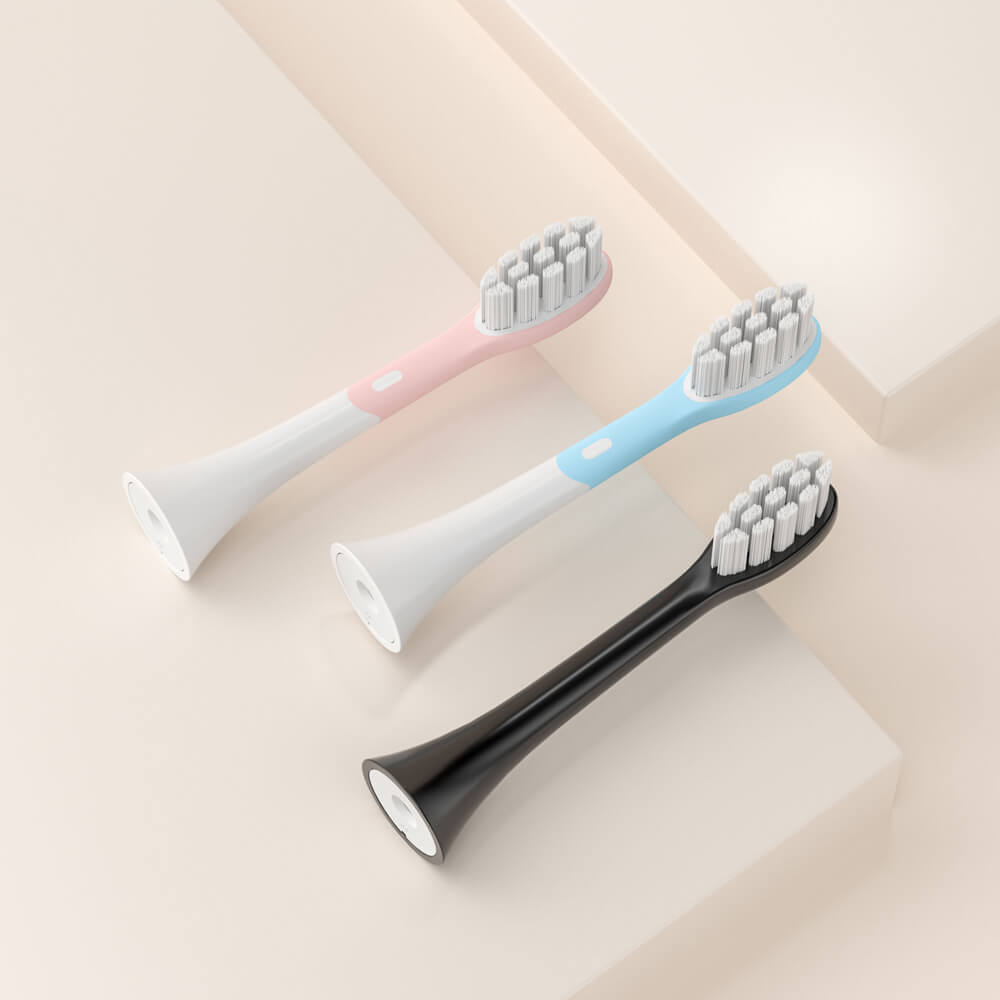
Why Choose Food-grade Bristle Material from a Trusted Micro Motor Supplier?

Can a Conversational RFP Responder Integrate Data from an Autonomous Patent Landscape Analyst?
What Should You Consider in Cordless Flosser Manufacturing Regarding Flosser Battery Solution Choice?

.jpg)
.jpg)
.jpg)
.jpg)
.jpg)

.jpg)
-3-scaled.png)
.jpg)