
In the oral care industry, even the smallest detail can affect product performance and customer satisfaction. Proper electric toothbrush head installation is essential for ensuring optimal cleaning efficiency, reducing wear on the device, and preventing product returns. For brands working with OEM or ODM factories, providing a clear brush head installation guide not only improves user experience but also strengthens brand trust. This article outlines the correct steps, the importance of a secure toothbrush attachment, and how OEM head compatibility plays a role in long-term product success.
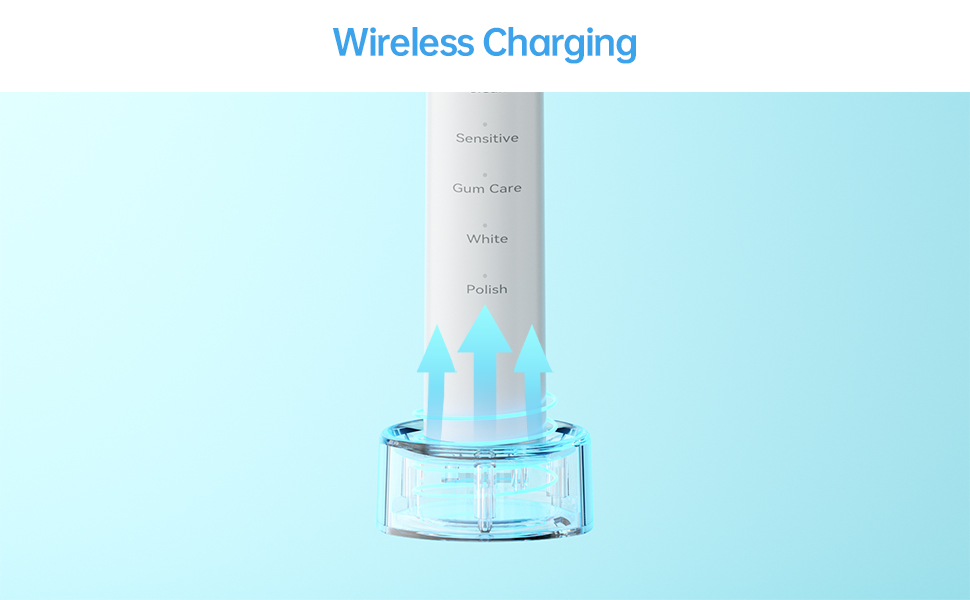
When developing electric toothbrushes, brands must ensure that brush heads and handles are perfectly matched. OEM head compatibility means:
The internal locking mechanism fits precisely with the handle.
The electrical and mechanical interfaces align for consistent vibration or rotation.
Materials and tolerances meet quality standards to avoid loose fitting or excessive tightness.
Working closely with your manufacturer to confirm compatibility prevents issues like wobbling heads, reduced motor efficiency, or accidental detachment during brushing.
Providing users with an easy-to-follow brush head installation guide is a valuable part of your product documentation. Here’s the recommended step sequence:
Check the Compatibility
Ensure that the replacement head is designed for your electric toothbrush model. Refer to your product manual or packaging.
Align the Head with the Handle
Position the brush head so that the shaft of the handle fits into the central opening of the head.
Push Down Firmly
Apply steady pressure until you hear or feel a “click” that indicates a secure toothbrush attachment.
Check for Stability
Gently twist or pull the head to confirm it is firmly in place and doesn’t wobble.
Test Before Use
Turn on the toothbrush to ensure smooth operation without unusual noise or vibration.
Even with simple instructions, users sometimes make errors that can impact performance:
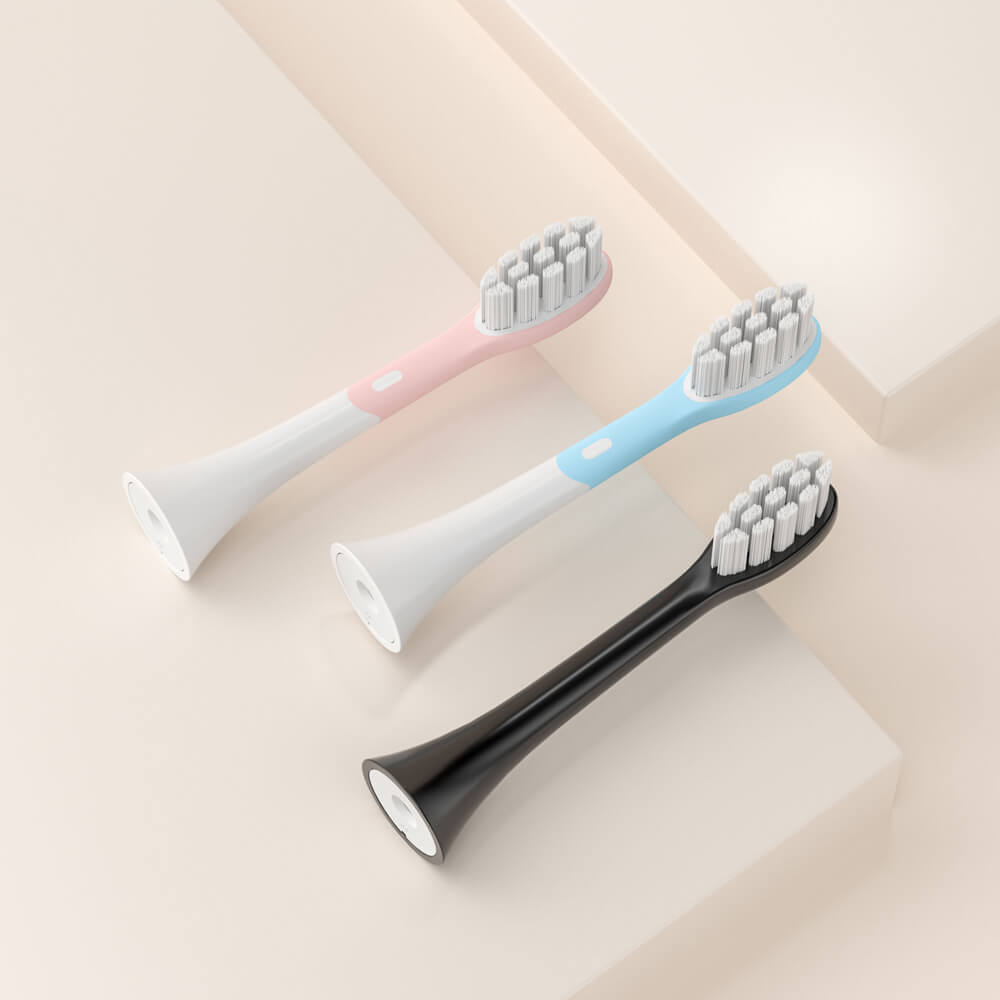
Using incompatible heads that don’t fit the locking system.
Not pushing the head down completely, leading to unstable operation.
Over-forcing the head, which can damage the handle or internal connector.
Brands can reduce these mistakes by integrating visual diagrams and QR codes in manuals that link to demonstration videos.
Choosing the right OEM factory is critical. A high-quality manufacturing partner can:
Design handles and heads with precise tolerances for secure toothbrush attachment.
Test multiple head samples to confirm proper electric toothbrush head installation under various usage conditions.
Provide assembly and packaging solutions that make installation intuitive for end users.
Partnering with an experienced oral care manufacturer ensures that your products not only perform well but also provide hassle-free user experiences.
For oral care brands, installing electric toothbrush heads correctly is not just a user responsibility—it’s part of the brand’s commitment to quality. By focusing on OEM head compatibility, delivering a clear brush head installation guide, and working with manufacturing partners who guarantee a secure toothbrush attachment, brands can minimize customer complaints, extend product lifespan, and enhance overall satisfaction.
.jpg)
Electric Toothbrush for Dental Kit Programs | Custom B2B Oral Care Solutions
Quiet Sonic Toothbrush OEM Manufacturer for Global Brands
Dental Water Flosser Wholesale China for OEM & Global Distributors
How Changing Consumer Attitudes Are Shaping Oral Care Products Demand
-2-scaled.png)
Clinical Validation of Modern Teeth Whitening Technologies: A Guide for Oral Care Product Brands
How Does Your Whitening Gel Formulation Cater to a Sensitive Teeth Formula Requirement?
.jpg)
Designing Kid Electric Toothbrush Models for Your Fun Dental Care Products Range?
Electric Toothbrush for Hard Water Areas Arizona

Can an Electric Toothbrush Help Relieve Tooth Sensitivity?
Oral Ulcers Fluorosis aggravation? Whitening Device Contraindications!
Can a Custom Whitening Tray Be Combined With a Whitening Pen OEM Design for Personalized Care?

Is Your Toothbrush Manufacturer Also a Toothbrush Wholesaler?
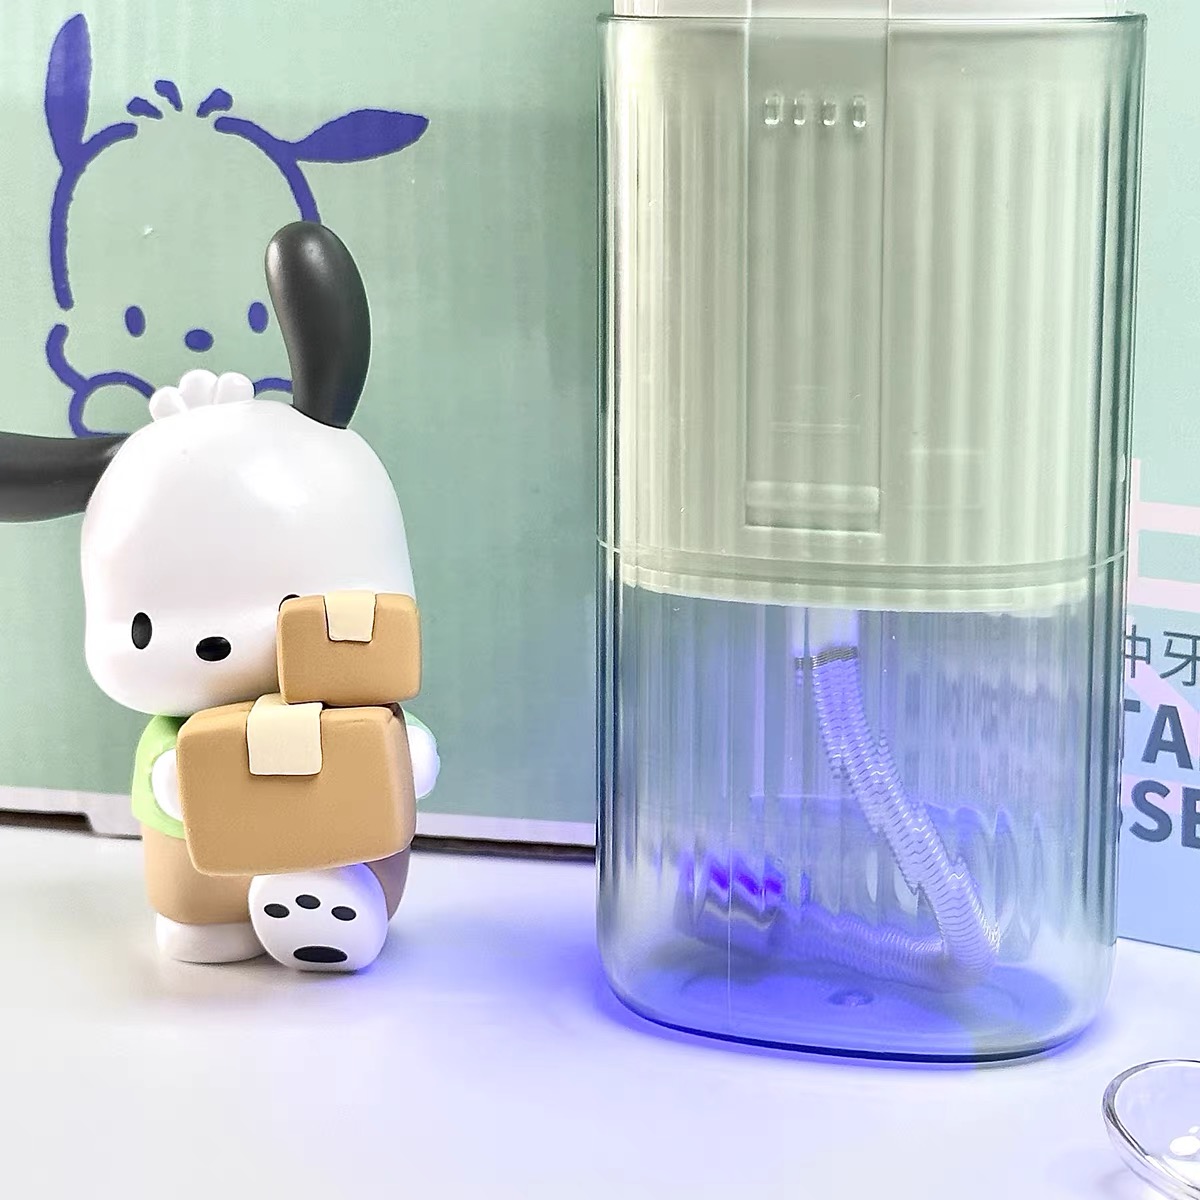
Can a Percussive Hydraulic Mechanism Be Combined With an Anti-microbial Reservoir for Safer Oral Irrigation?
Facing Brush Head Frying? Can a High Recycled Plastic Ratio Boost Durability and Sustainability?
.jpg)
How can a Water Flosser provide a more thorough and Dental Plaque Remover?
Rechargeable Sonic Electric Toothbrushes: OEM Wholesale for US & UK Retail Stores

.jpg)
.jpg)
.jpg)
.jpg)
.jpg)

.jpg)

.jpg)