.jpg)
Powsmart electric toothbrush manufacturer in Phoenix
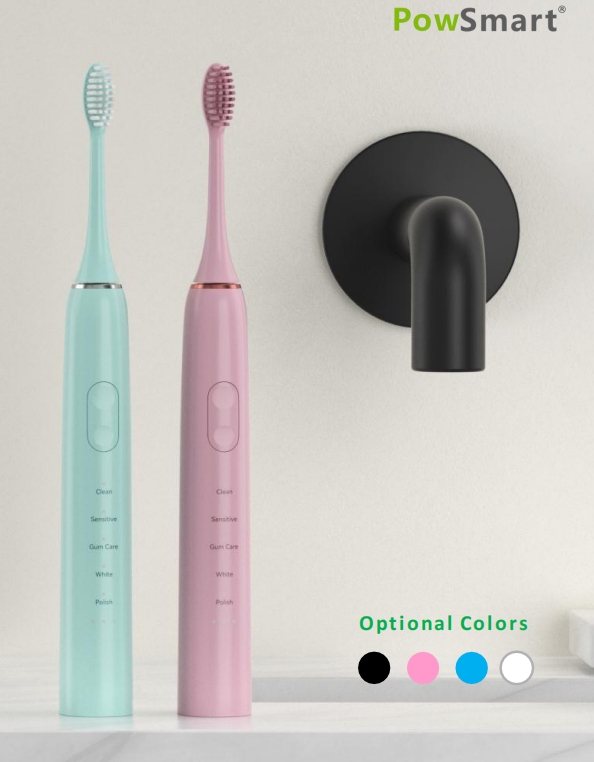
Phoenix Electric Toothbrush Wholesale
Electric Toothbrush Export Factory China for Global B2B Supply
.jpg)
Powsmart Electric toothbrush Factory Oakland California
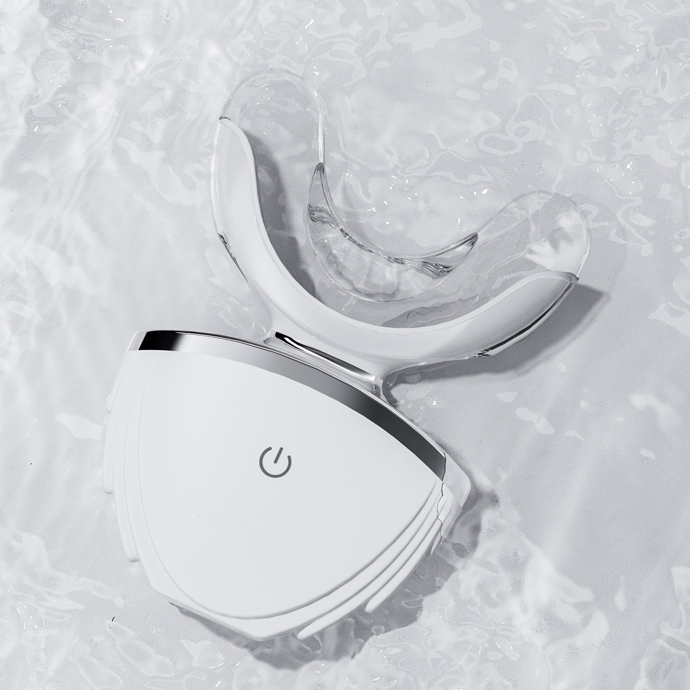
which electric toothbrush is best for gum health?
Waterproof Electric Toothbrush OEM Manufacturing for Global Brands
.jpg)
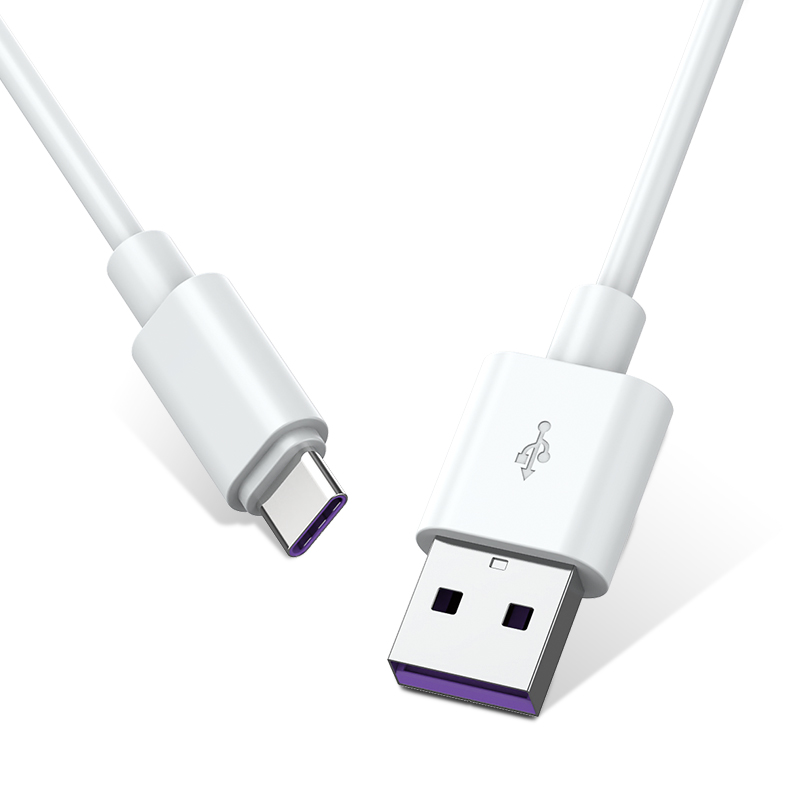
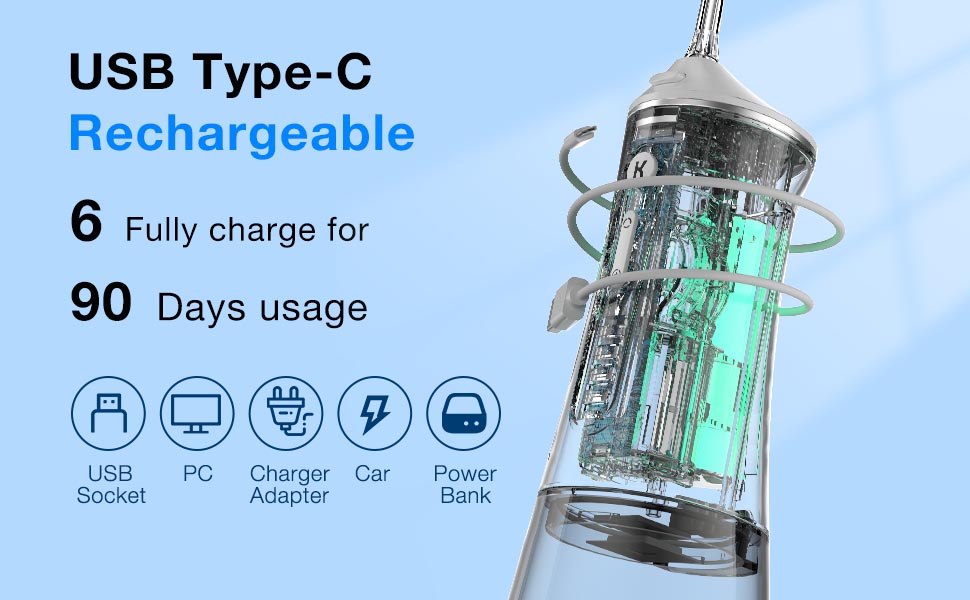
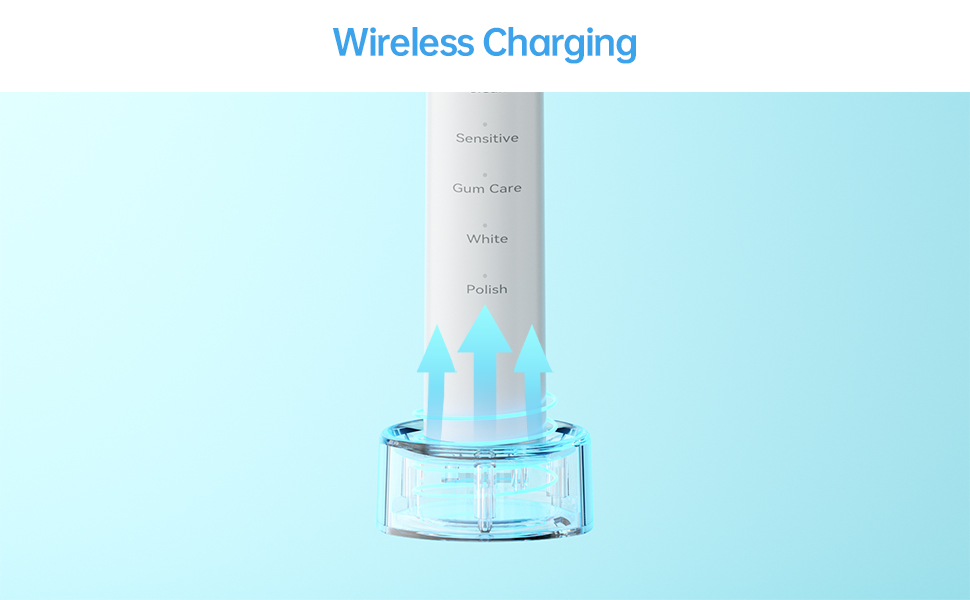
Wireless Inductive Charging Sensitive Electric Toothbrush Manufacturers
.jpg)
Sonic toothbrush supplier Texas
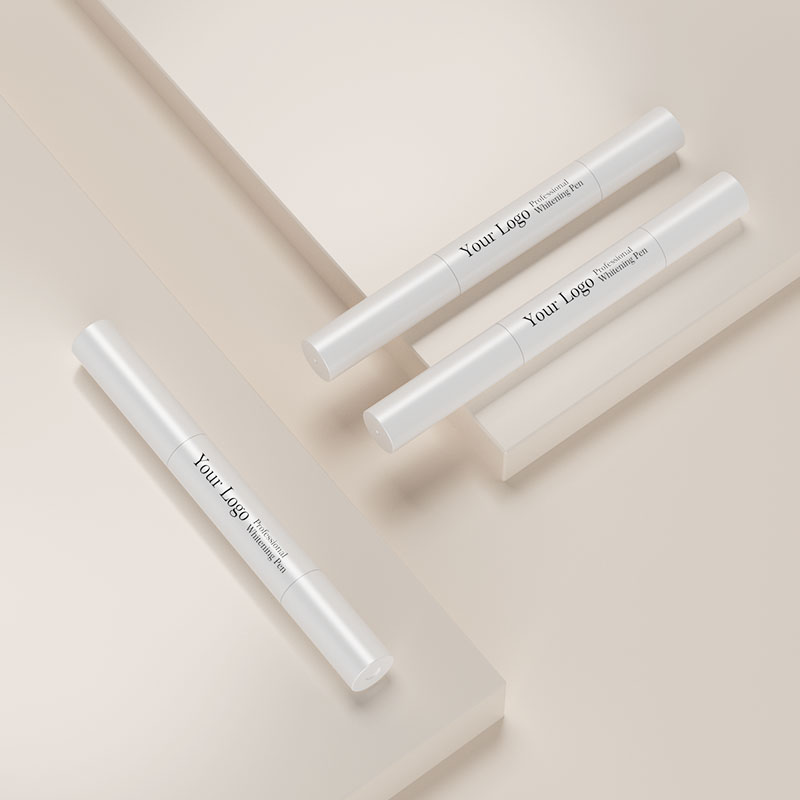
Private Label Teeth Whitening Kit Solutions for B2B Brands
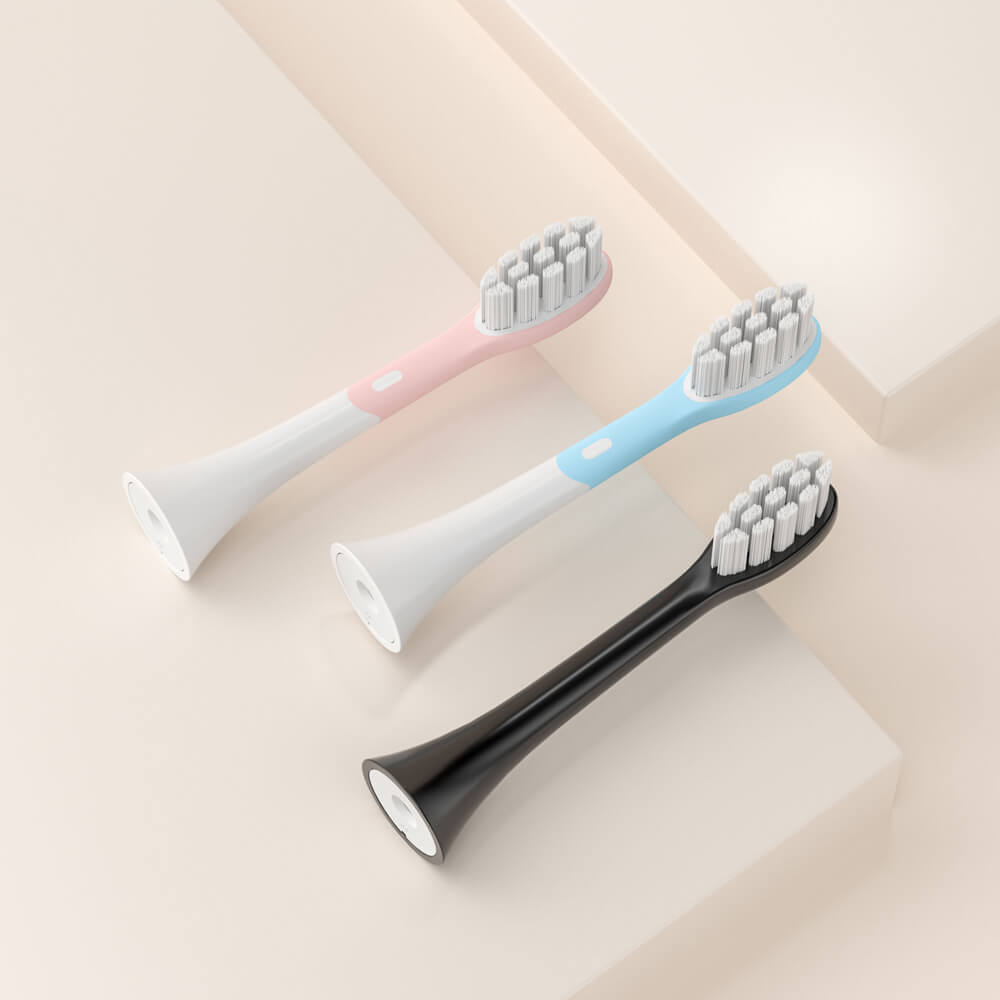
Electric Toothbrush Packaging Customization for OEM and Private Label Brands
.jpg)
Sonic toothbrush distributor Miami Florida
.jpg)
powsmart Electric toothbrush Factory Montgomery Alabama
Sonic toothbrush wholesale Los Angeles California

powsmart-Wide Frequency Range Electric Toothbrush Manufacturers
Bulk sonic toothbrush Chicago Illinois
electric toothbrush wholesaler USA

.jpg)
.jpg)
.jpg)
.jpg)
.jpg)

.jpg)